I made something cool, I wanted to share how I made it!
My friend Kevin
This is me and my friend Kevin.
We met in college and became such good friends that we decided to room together during our junior year. He’s since moved to Seattle to join me on my beautiful rocky mountain adventures. Here’s a picture of us snowboarding with him in his favorite onesie.
His birthday was a couple of weeks ago and I wanted to come up with this idea of getting him a diffuser (because it’s good for your skin). But a diffuser is $20 on Amazon and it felt a little impersonal… thus came this amazing idea!
Creating Charmander
Typically when I want to design something difficult, I look to see if anyone else already did it on Thingiverse! Thingiverse is a beautiful place for user-contributed models and luckily Charmander is all over the place.
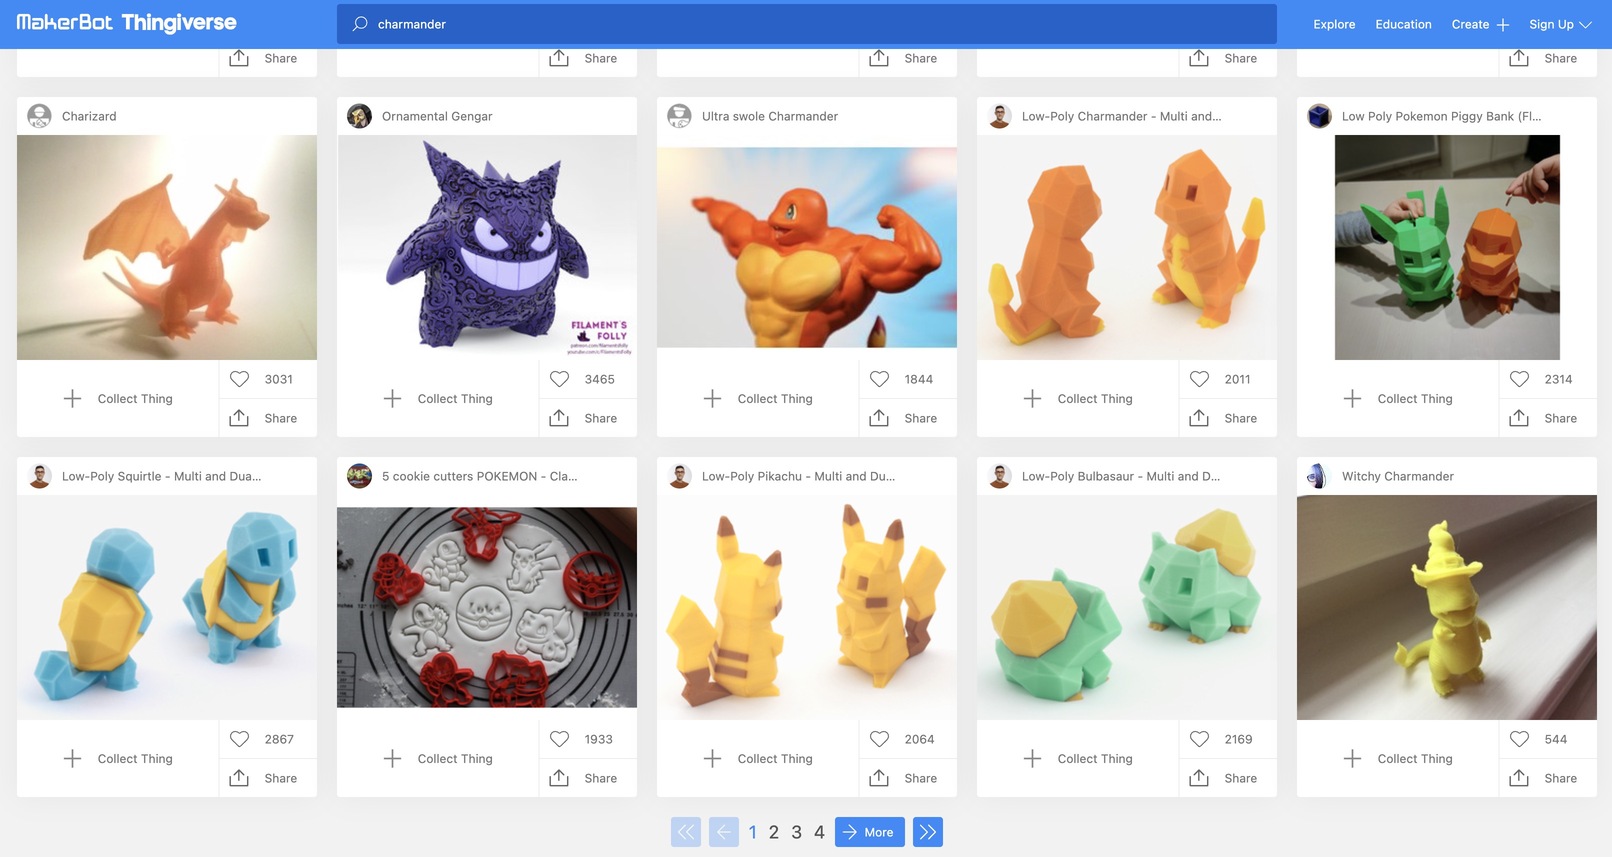
Even more fortunate, someone created a model of Charmander breathing LITERAL FIRE (thanks suatbatu).
Unfortunately it wasn’t already available for download on Thingiverse. Fortunately he did make it downloadable on Cults 3D where I could support him for his work!
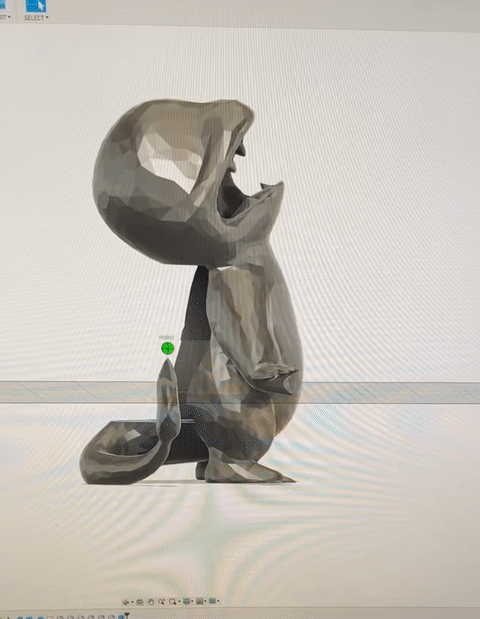
So I downloaded this as a base. It had probably 1,000,000 vertices on the model and crashed every single software I had except for Fusion 360. In Fusion the first thing I did was reduce the # of vertices using the Mesh>Modify>Reduce tool.
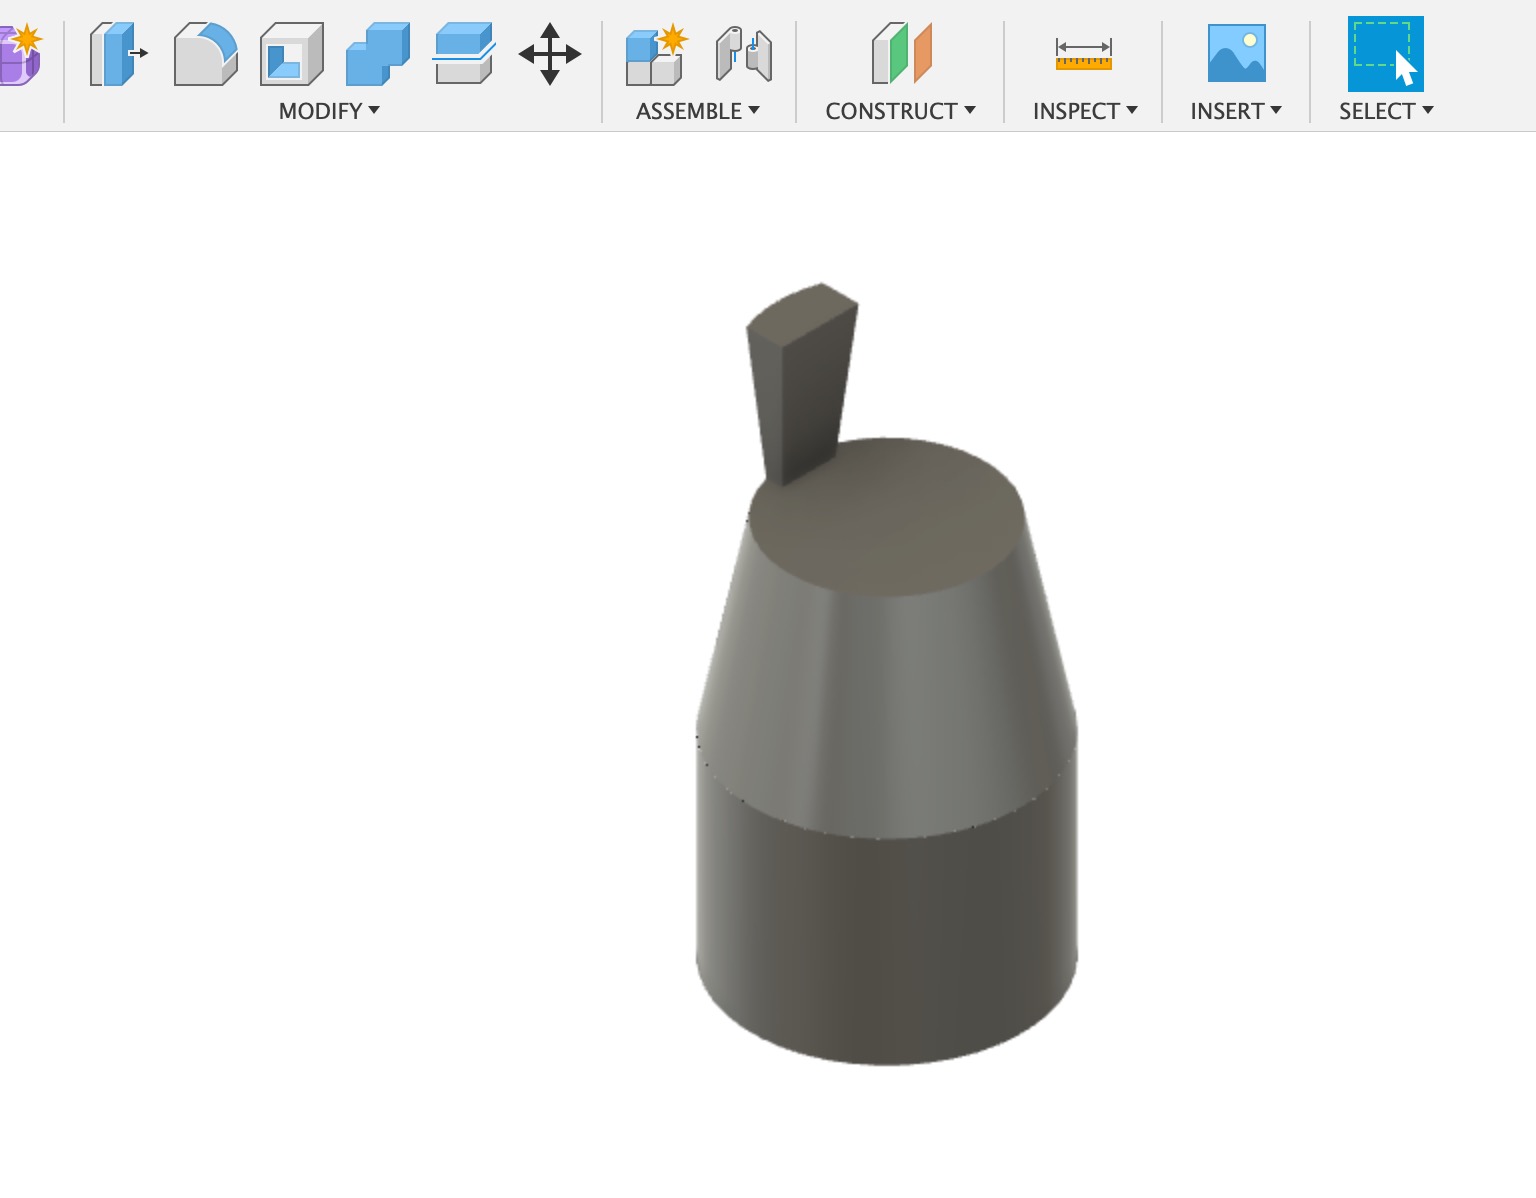
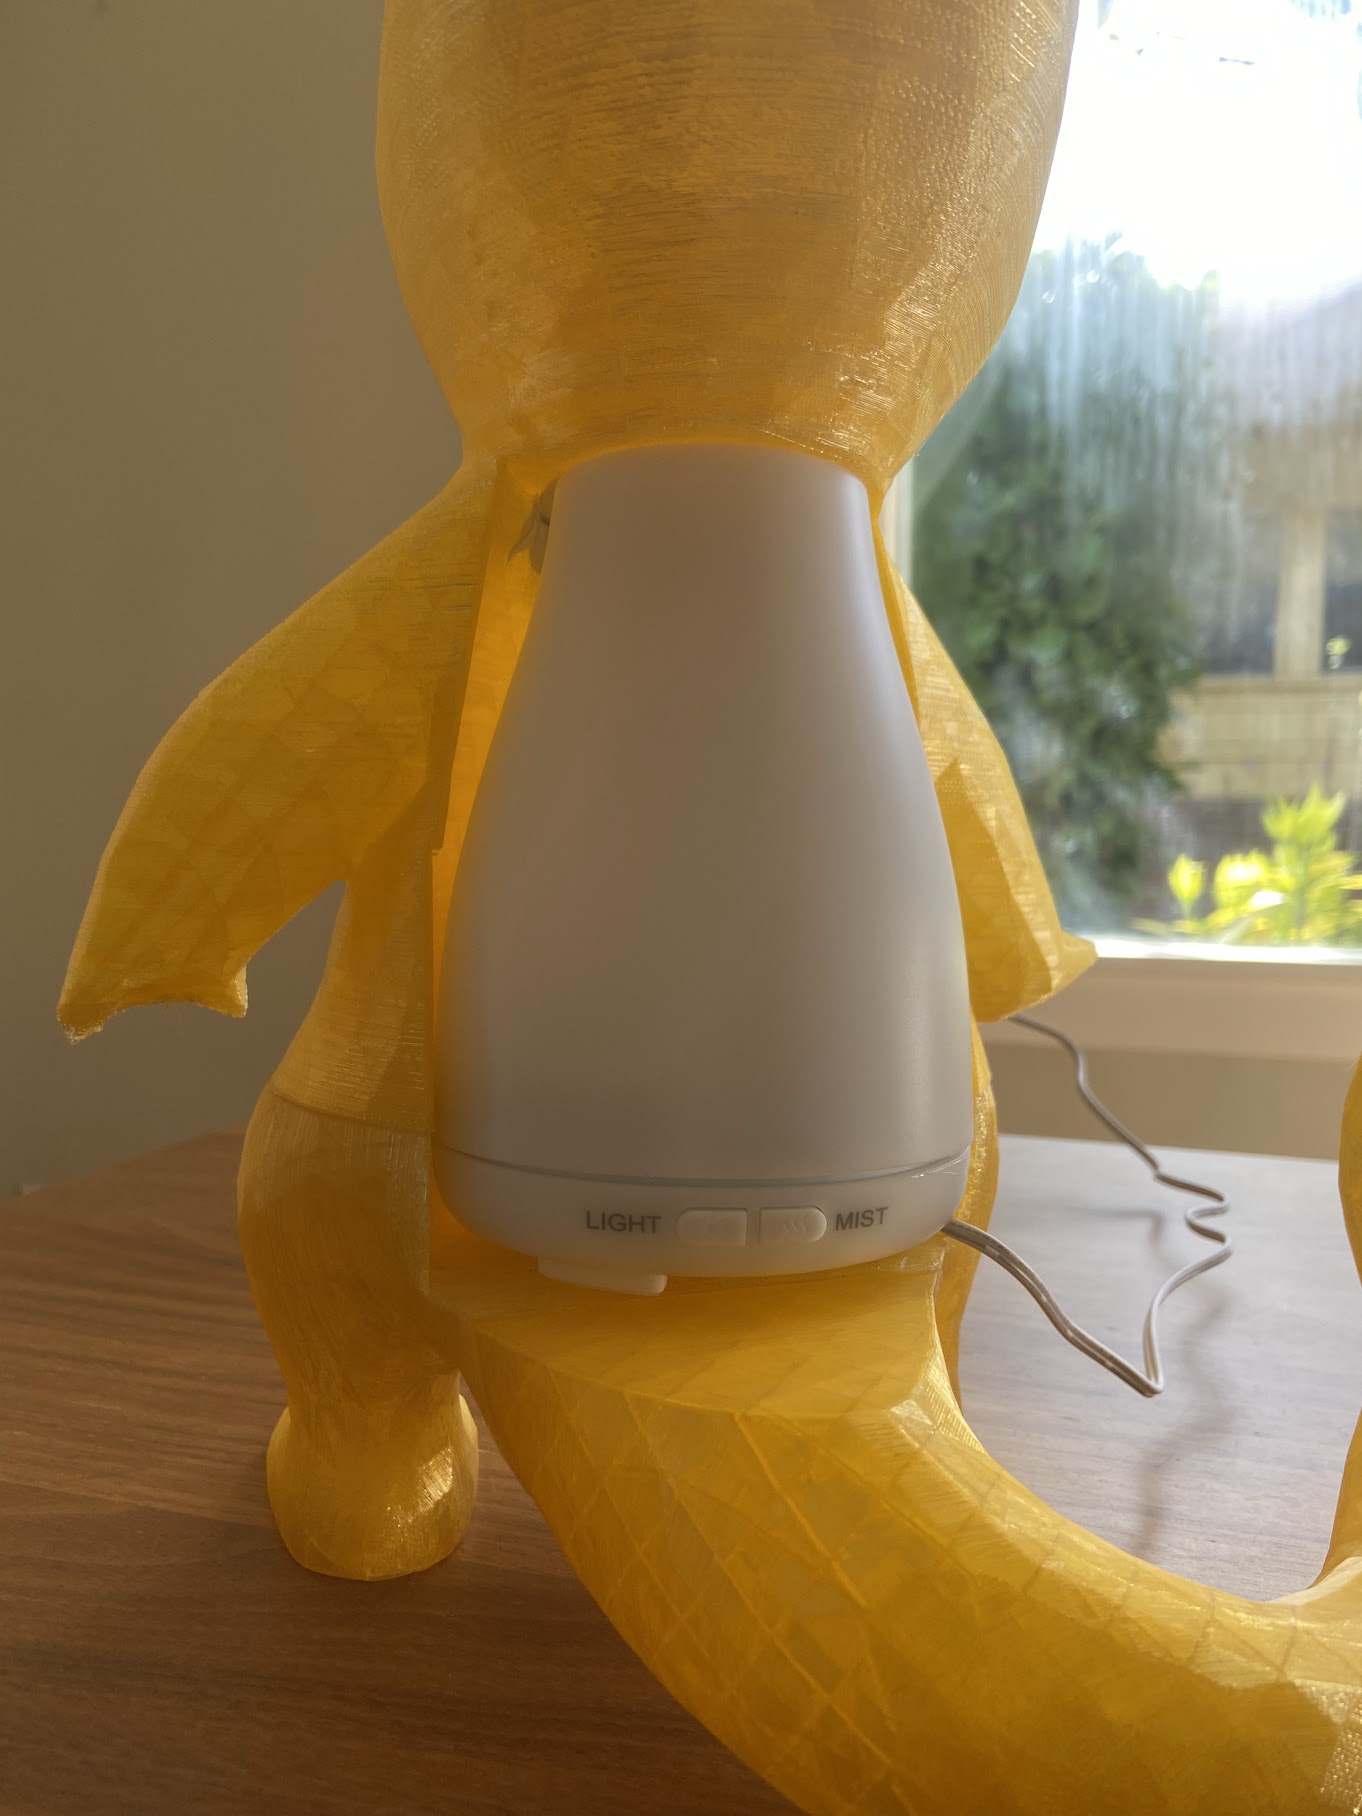
From there I measured out my diffuser and built a model of it as a separate object. I put a little tab to indicate where the air comes out.
Then all I needed to do was resize Charmander and cut a hole the exact size of the diffuser somewhere inside of him. This is fairly easy as you can merge two bodies but rather than add, you can cut with the secondary body. Hence a diffuser size hole was made.
Printing Charmander
I thought this might be an easy print but I was quickly wrong when I found out Charmander was bigger than my Ender 3 printer could handle!
Frustrating but easy to fix. I first cut Charmander in half such that his top half barely fits on the plate. And then retrospectively realized that this is the perfect split such that I can glue the top of the diffuser into the top of Charmander.
Then the tail didn’t fit either so I cut the tail off to make a total of 3 different parts to print.
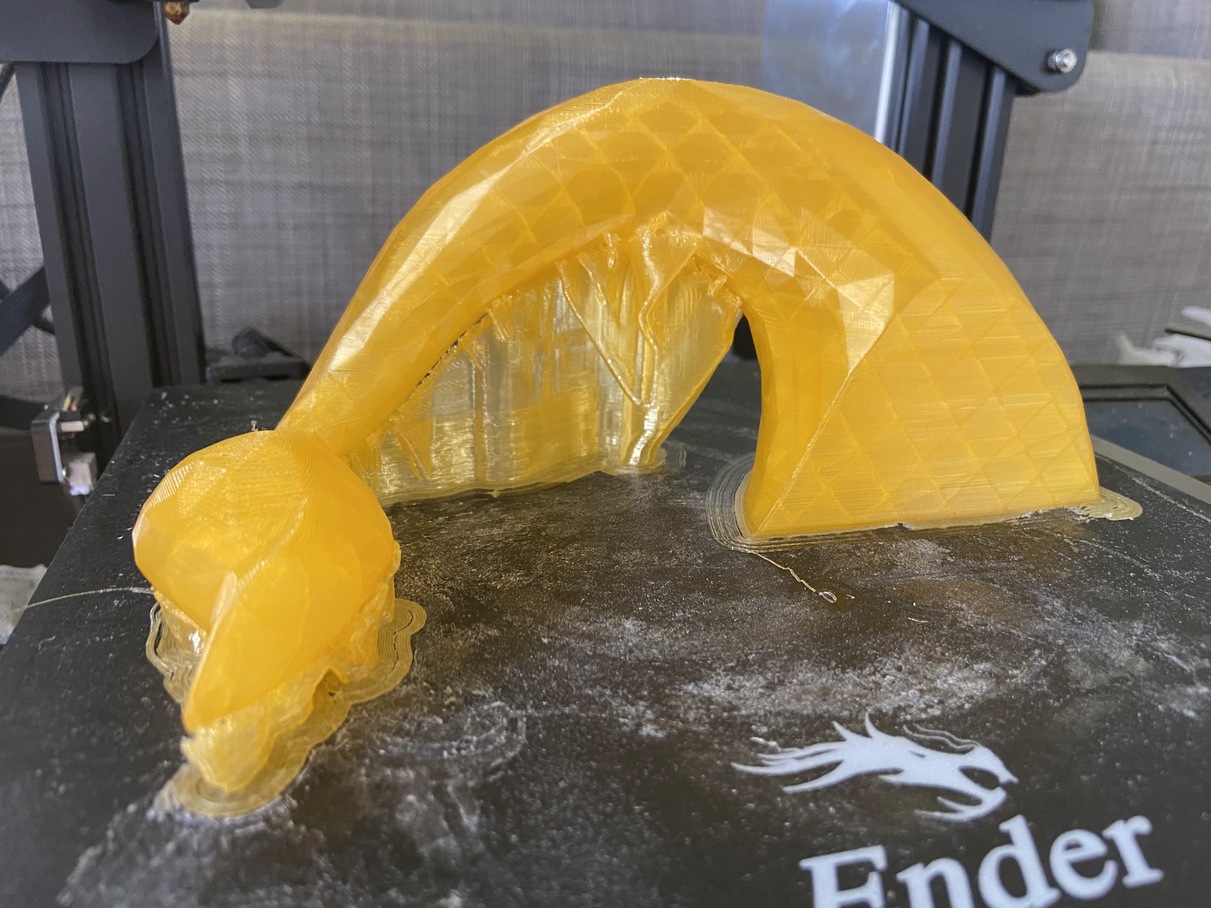
Now we had to send it to the printer, but the amount of filament is insane for this type of print. 48 hours for just the top part of Charmander. I played around with reducing the support structures and found out I could try printing with tree supports!
In time I made my first print which was just a test to ensure it fits the diffuser properly and lined up!
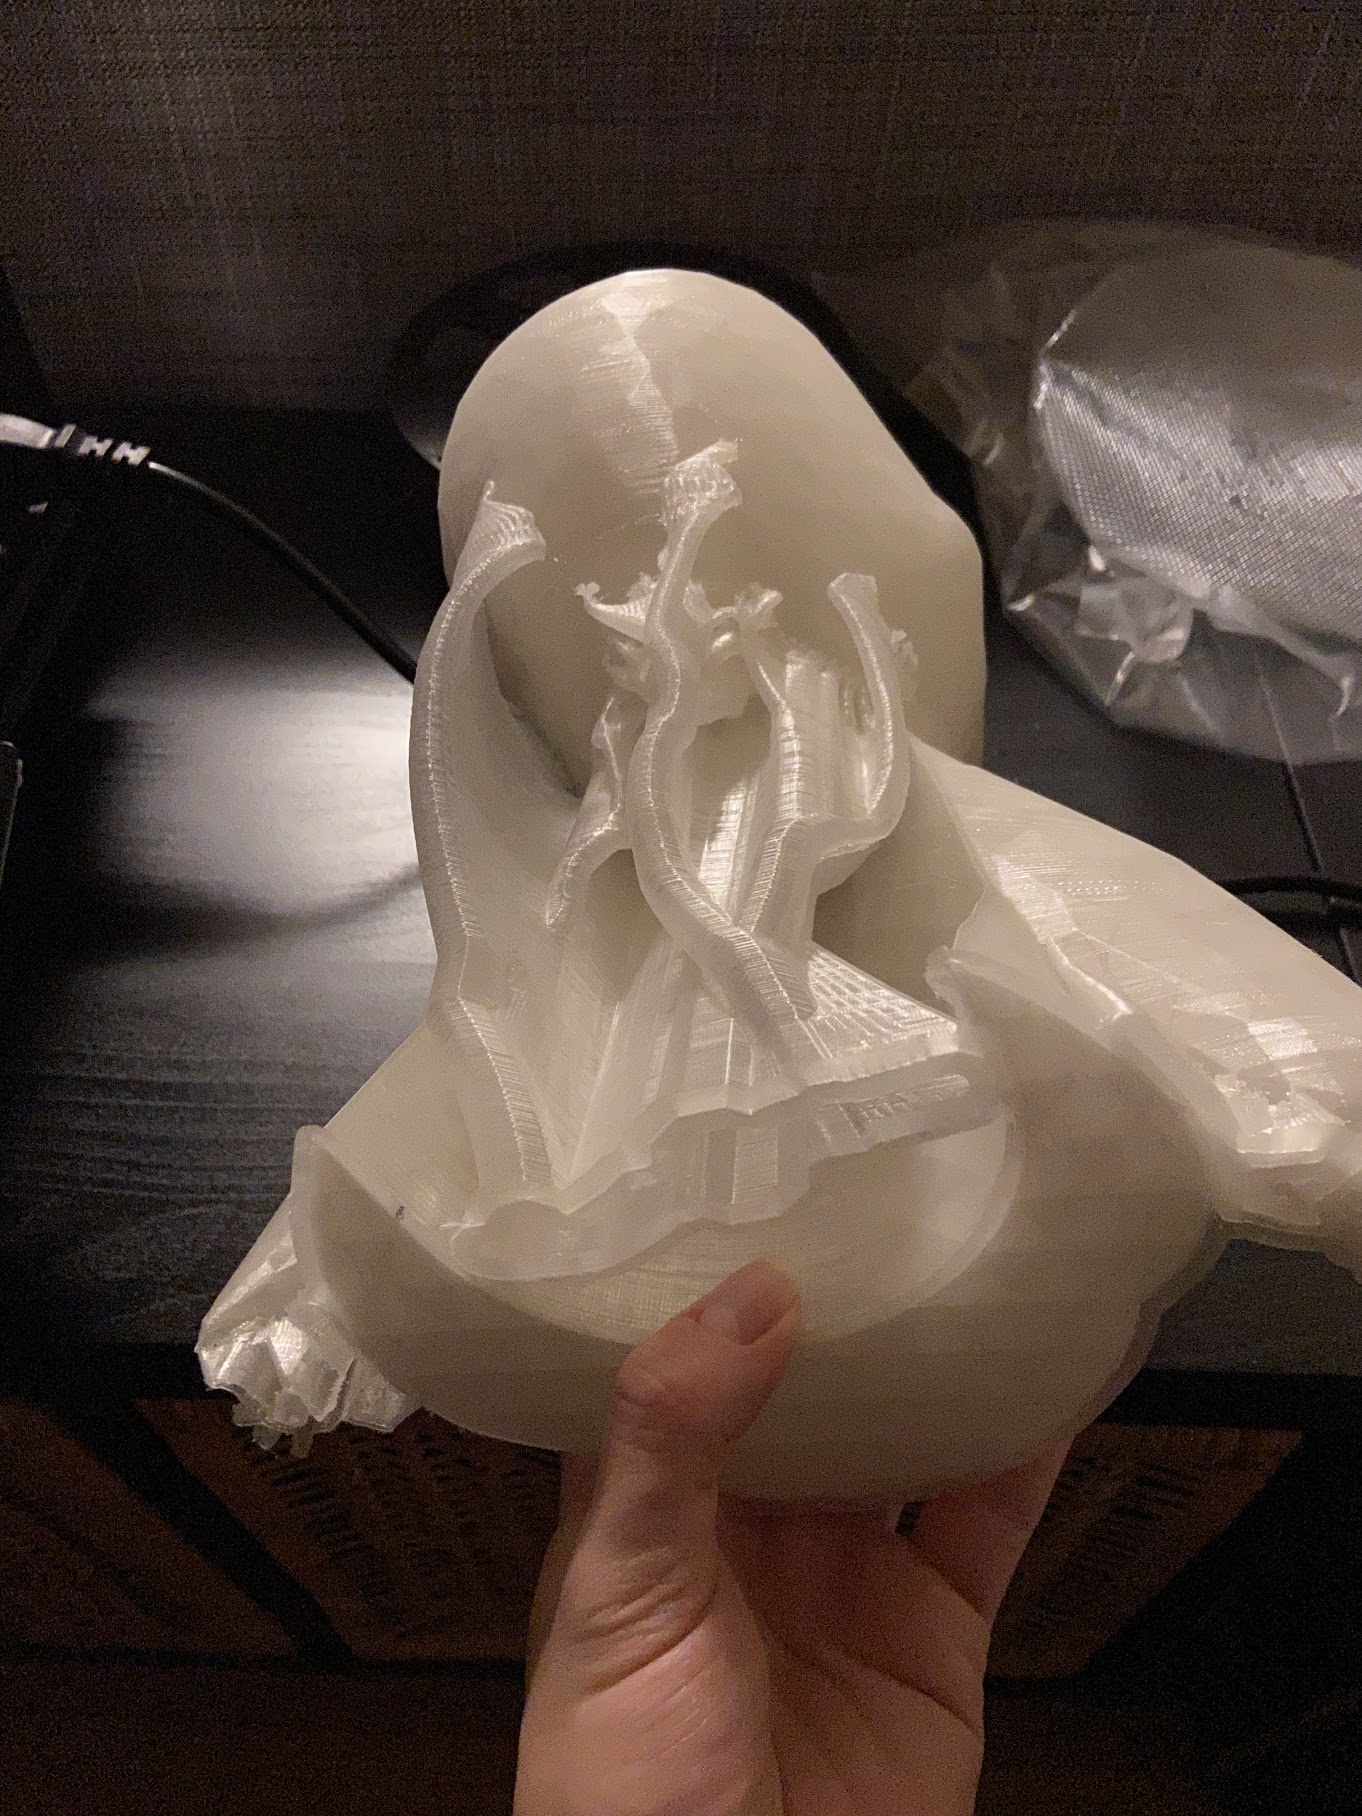
Not shown is my first print which failed miserably because the base of the tree supports just fell off the board and when it started printing his hand, now floating in midair, the filament was going everywhere.
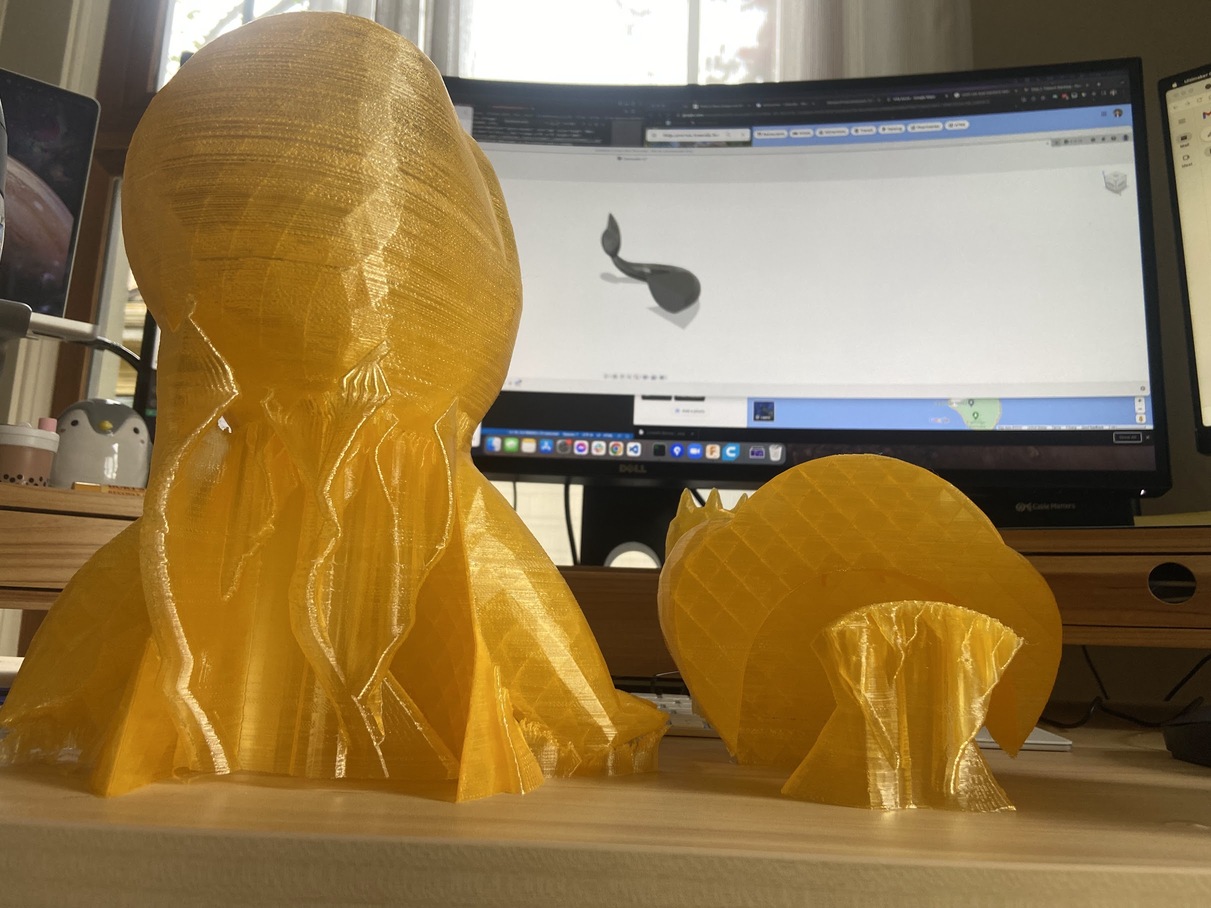
Since the second print lined up, I went ahead and ordered a new roll of filament for the Charmander which was orange and translucent for the light to shine through.
Here are some of the prints coming off the printer:
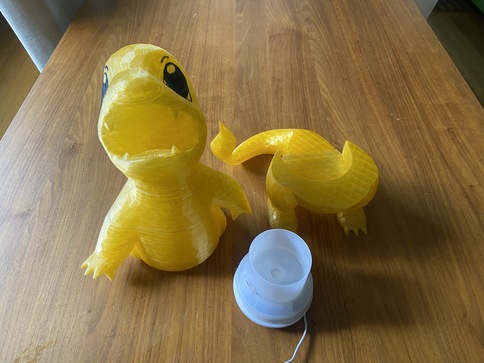
Final Assembly
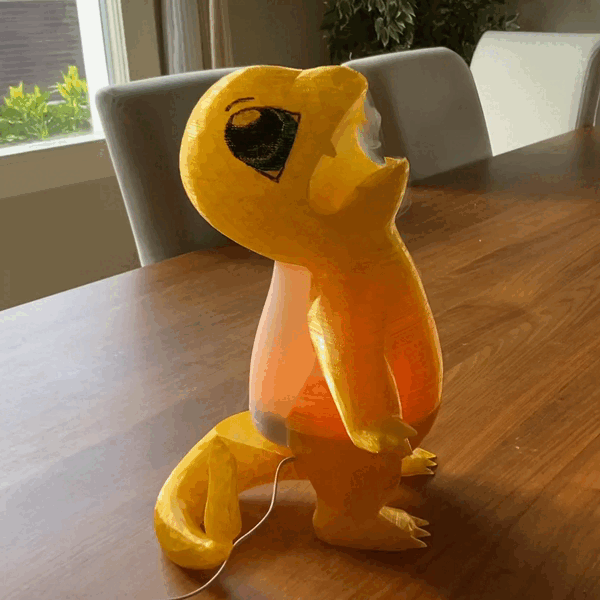
The last bit was almost trivial. Glued the tail to the base. Painted his eyes on!
After testing it a bit I realized there’s condensation in the mouth that drips back into the head. To fix that I got out some caulk and filled the gap between the diffuser and the throat. It’s hard to see but it’s the white putty holding the top together.
Conclusions
It was about a week late but Kevin got his present!
Here are some things I learned:
- This print took almost the whole roll of filament. So I am better at ballparking filament costs now!
- I learned how to use tree supports! And I’m never going back to normal supports.
- I learned that rafts are super helpful for keeping tree supports on the plate.
- Water management is something to consider in design. (Condensation needed a quick fix)
- When creating a case for something, best to make that something copy the functionality of the inner product. Having the top come off helped the design significantly.
- 3D printing is still really fun.