Hello again, today’s blog post will mostly my journey of building and making a magic mirror. If you’re looking to build one yourself, this is an extremely well-documented project, and there will be many tutorials on YouTube and the MagicMirror website.
This will be mostly my documentation on how to build a frame, install the MagicMirror OS, navigate around, and configure the Remote Compliments plugin for sending messages from afar!

Building a framed mirror
I got lucky my friend who lived in Fremont sent me an urgent text that a flower shop was getting rid of their glass shelving and leaving it out with a “FREE GLASS” sign. Shout out to Peace Love and Happiness Club for their large panes of free glass.
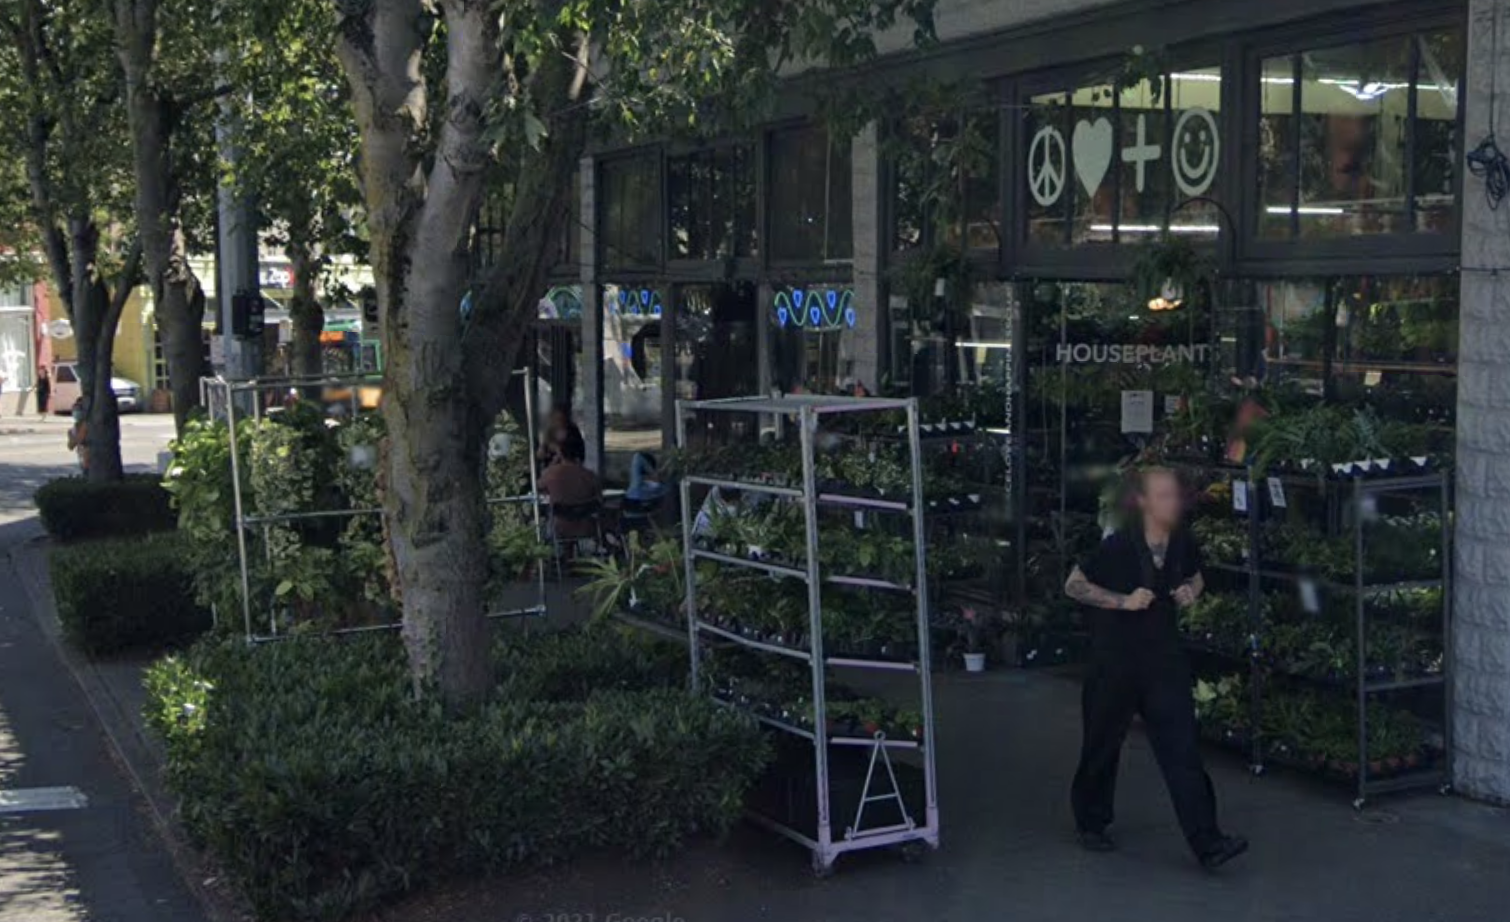
There were a couple to choose from, most were full-length mirror size, but I resorted to one which was about 13”x26” in size with cut corners. I coated the glass with privacy mirror film from Amazon and used a knife to cut the film to fit the edges of the glass.
Since it was not a particularly standard glass size, I wanted to build a frame from scratch as well, especially since I was building this to match a white furniture aesthetic inspired by a special friend of mine who loves clean white furniture.
I ran to home depot and bought a white molding 1”x4”x8’ board, which I decided would make sense to cut into 27” and 14.5” side pieces. I didn’t have good cutting devices, so after painstakingly sawing the corners off these side pieces with a hand saw, I went back to home depot and picked up a circular saw for myself.
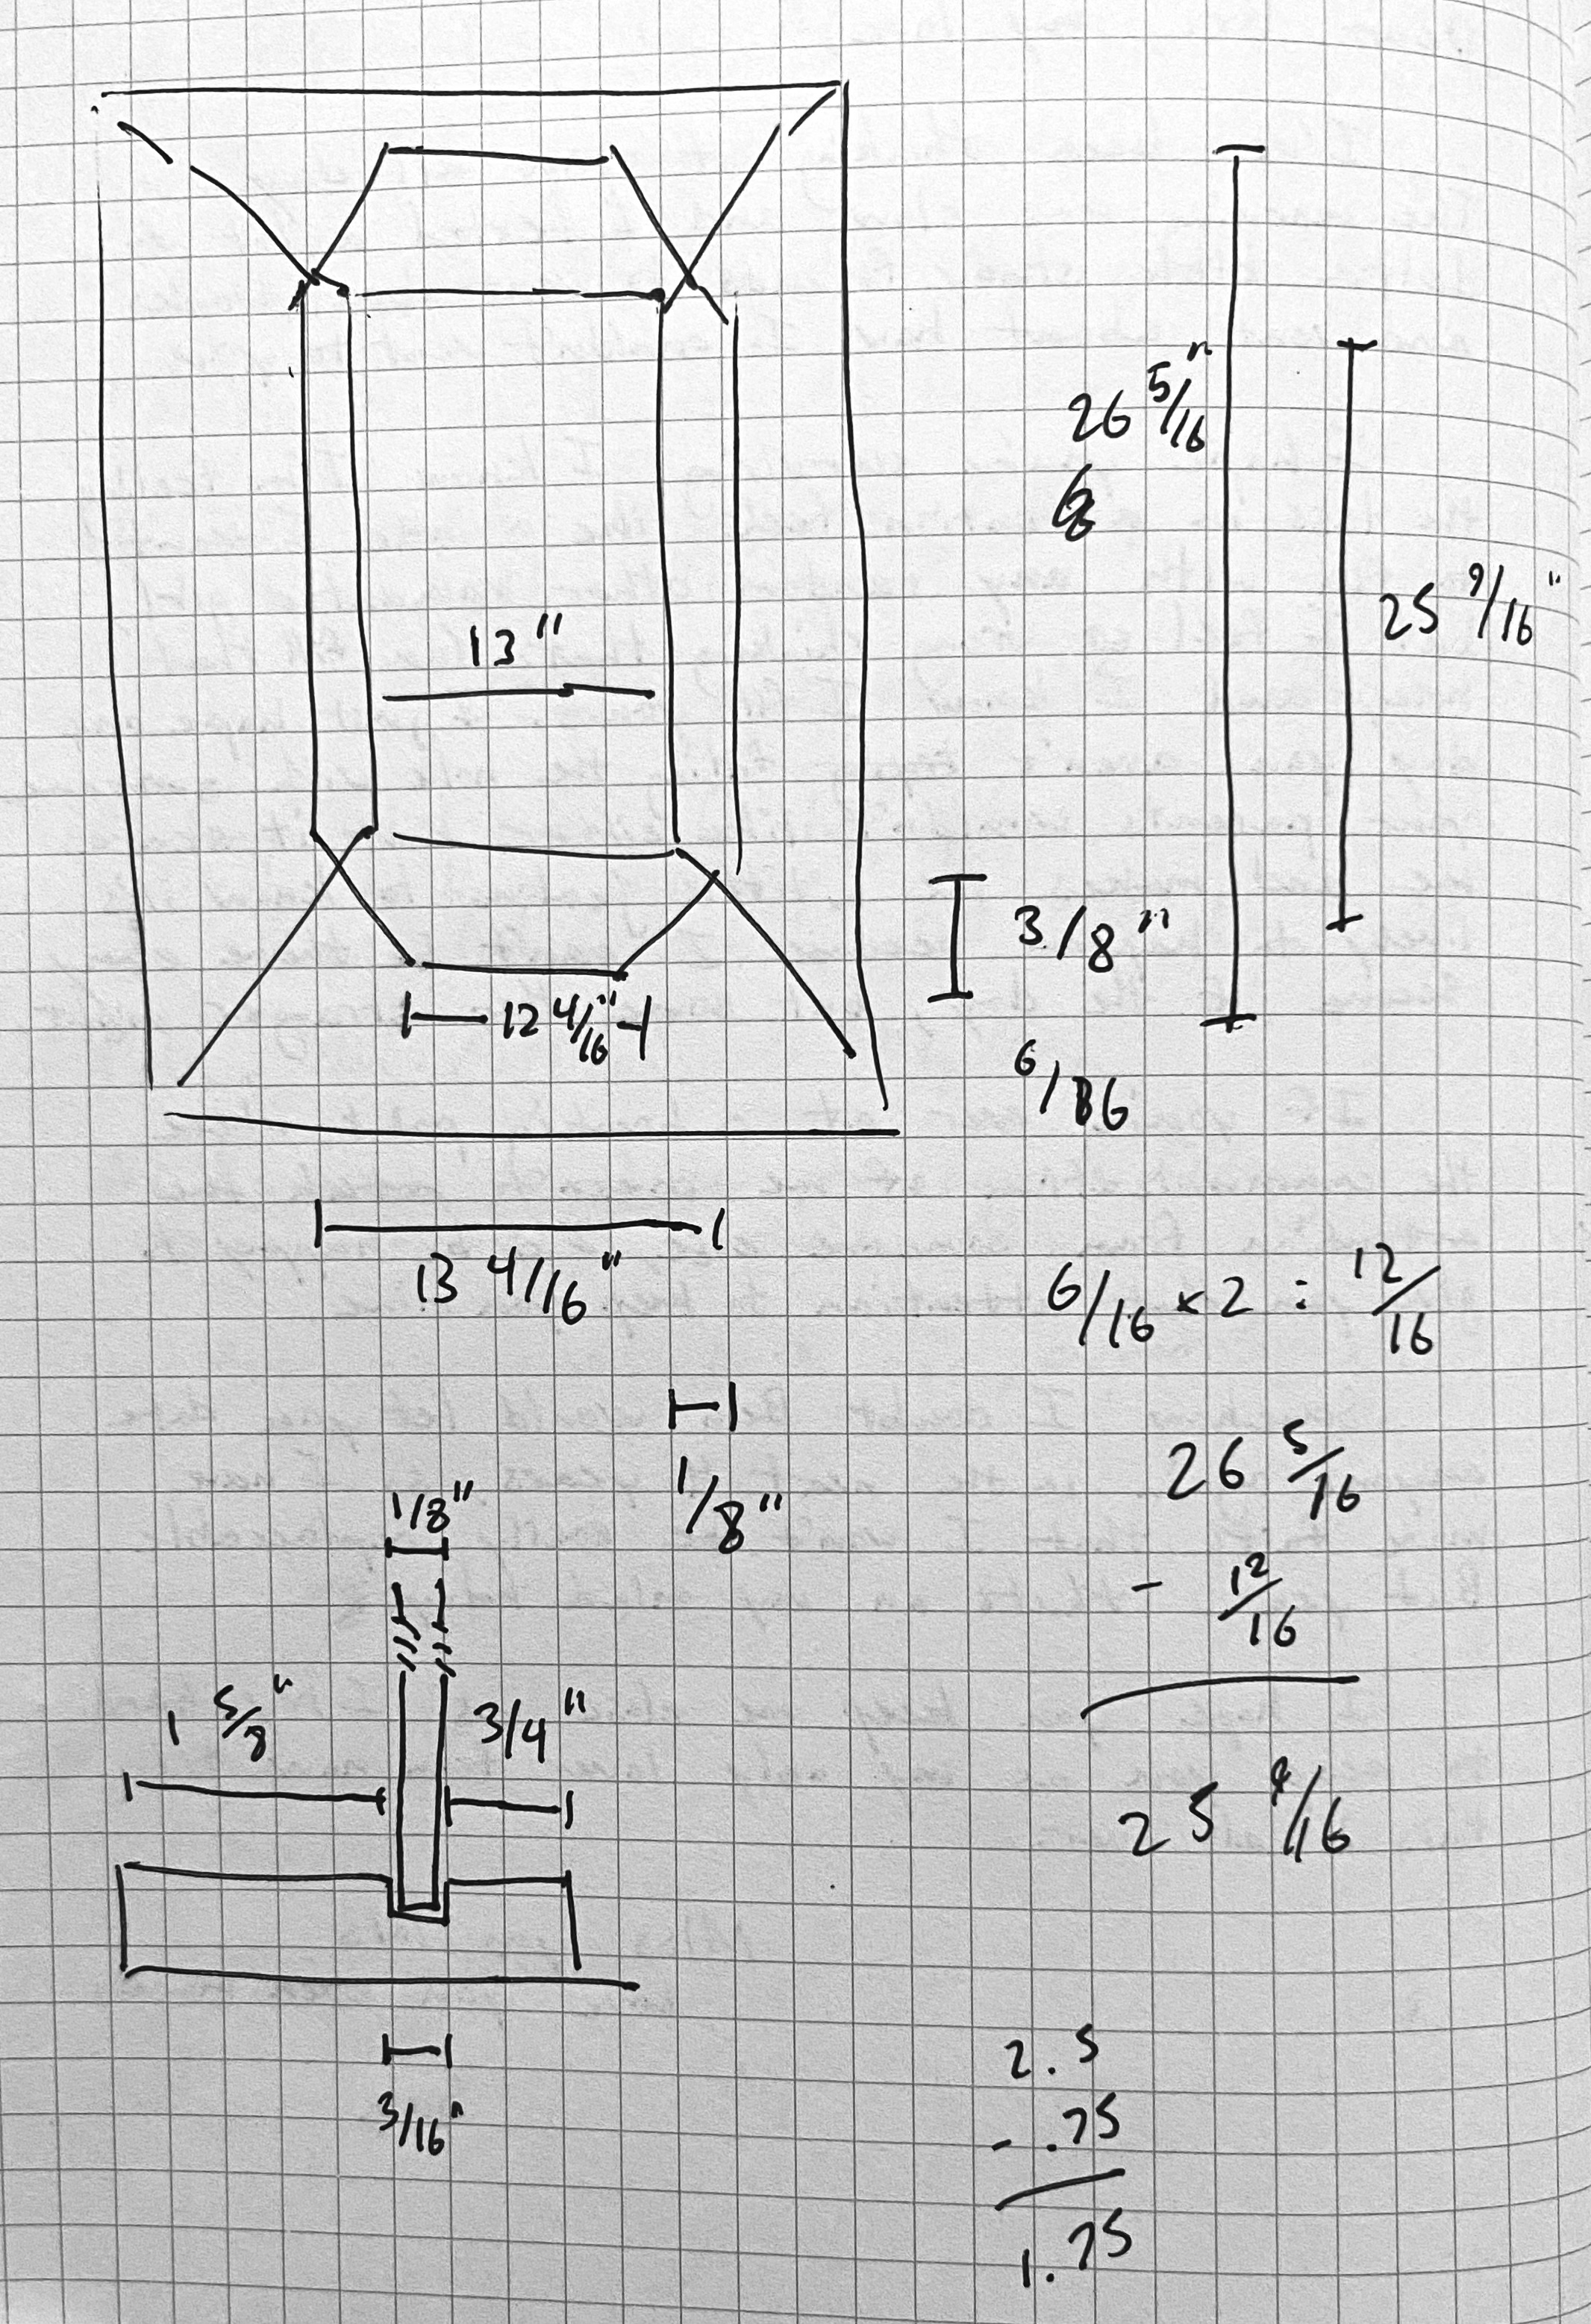
This was going to be useful for cutting the notches I designed in the frame for the glass to sit. If you look at my diagram, I had intended for a piece of glass to sit within a notch, and the notch would be deep enough to hide the corners in the frame.
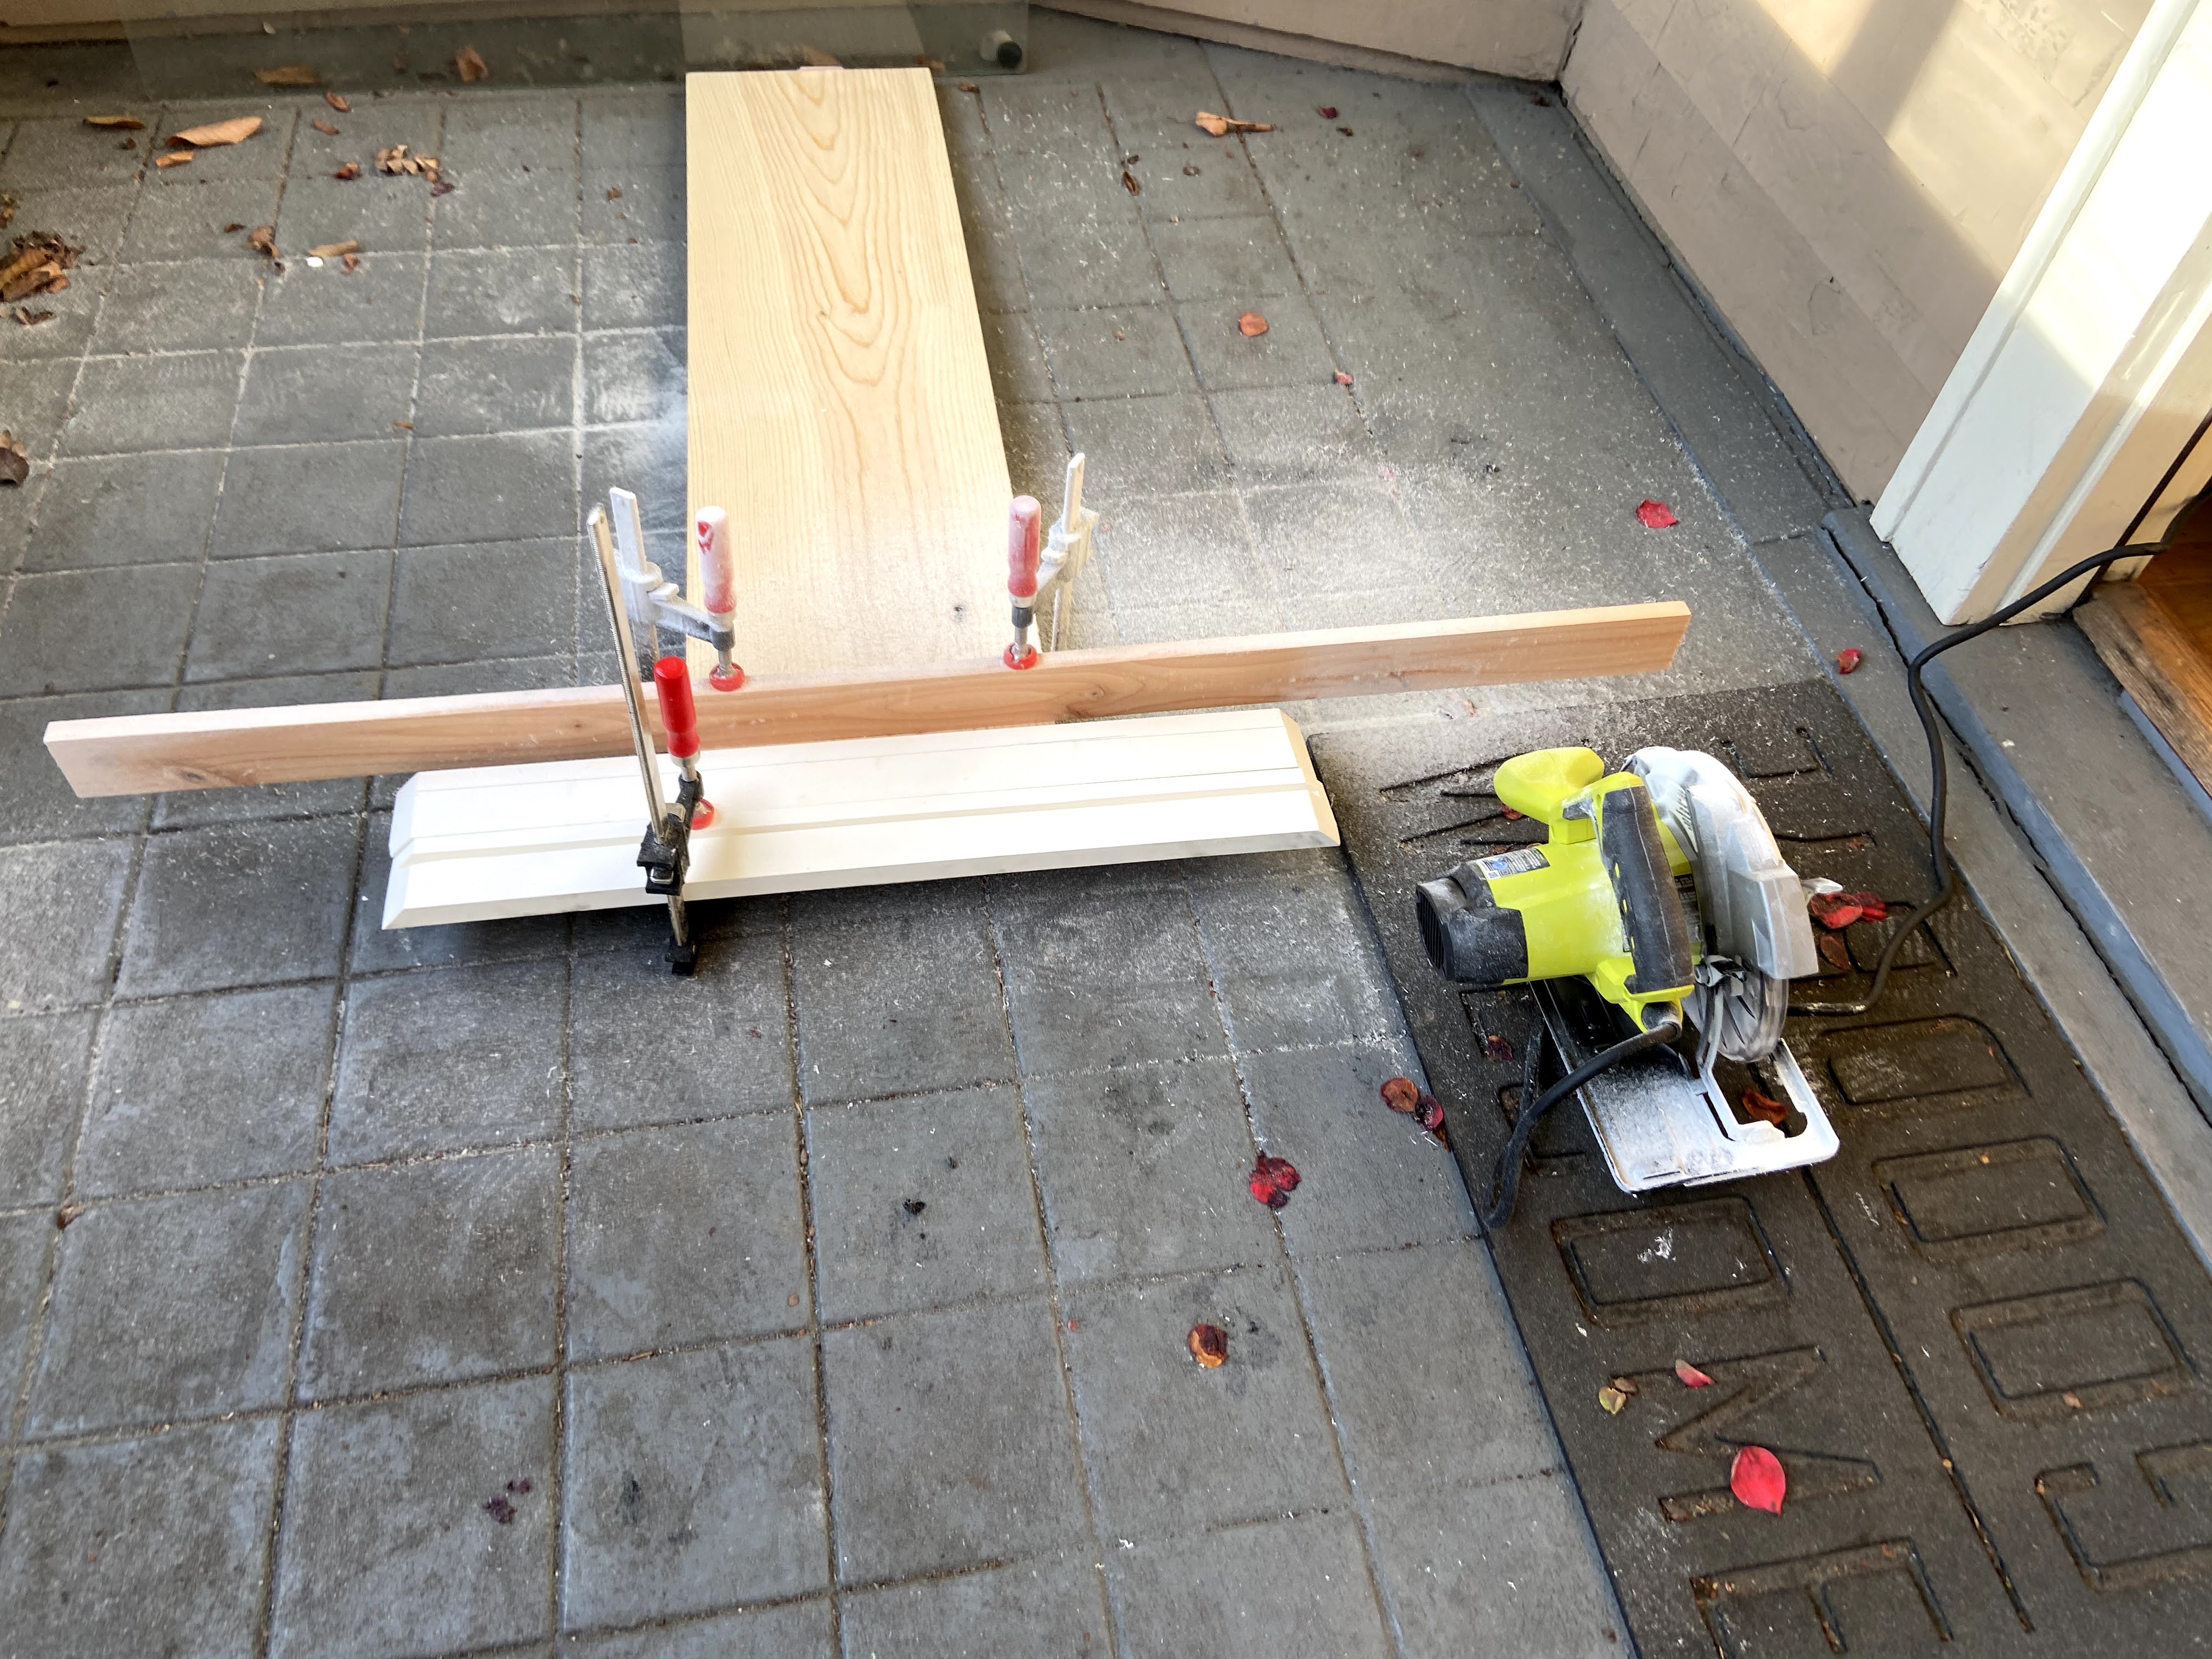
Don’t mind my super jank setup, I was using some plywood to cut straight edges, but don’t have a proper workbench yet, so I worked on the floor.
After the glass fit (which took some trial and error with the notch sizing) I was able to glue it all into place with some gorilla glue and clamp it in place. I also put some white caulk into the spaces between the mirror and the cracks of the frame to clean it all up and make it pretty.

After 24 hours of letting it dry, I had completed my one-way mirror!
Making it a smart mirror
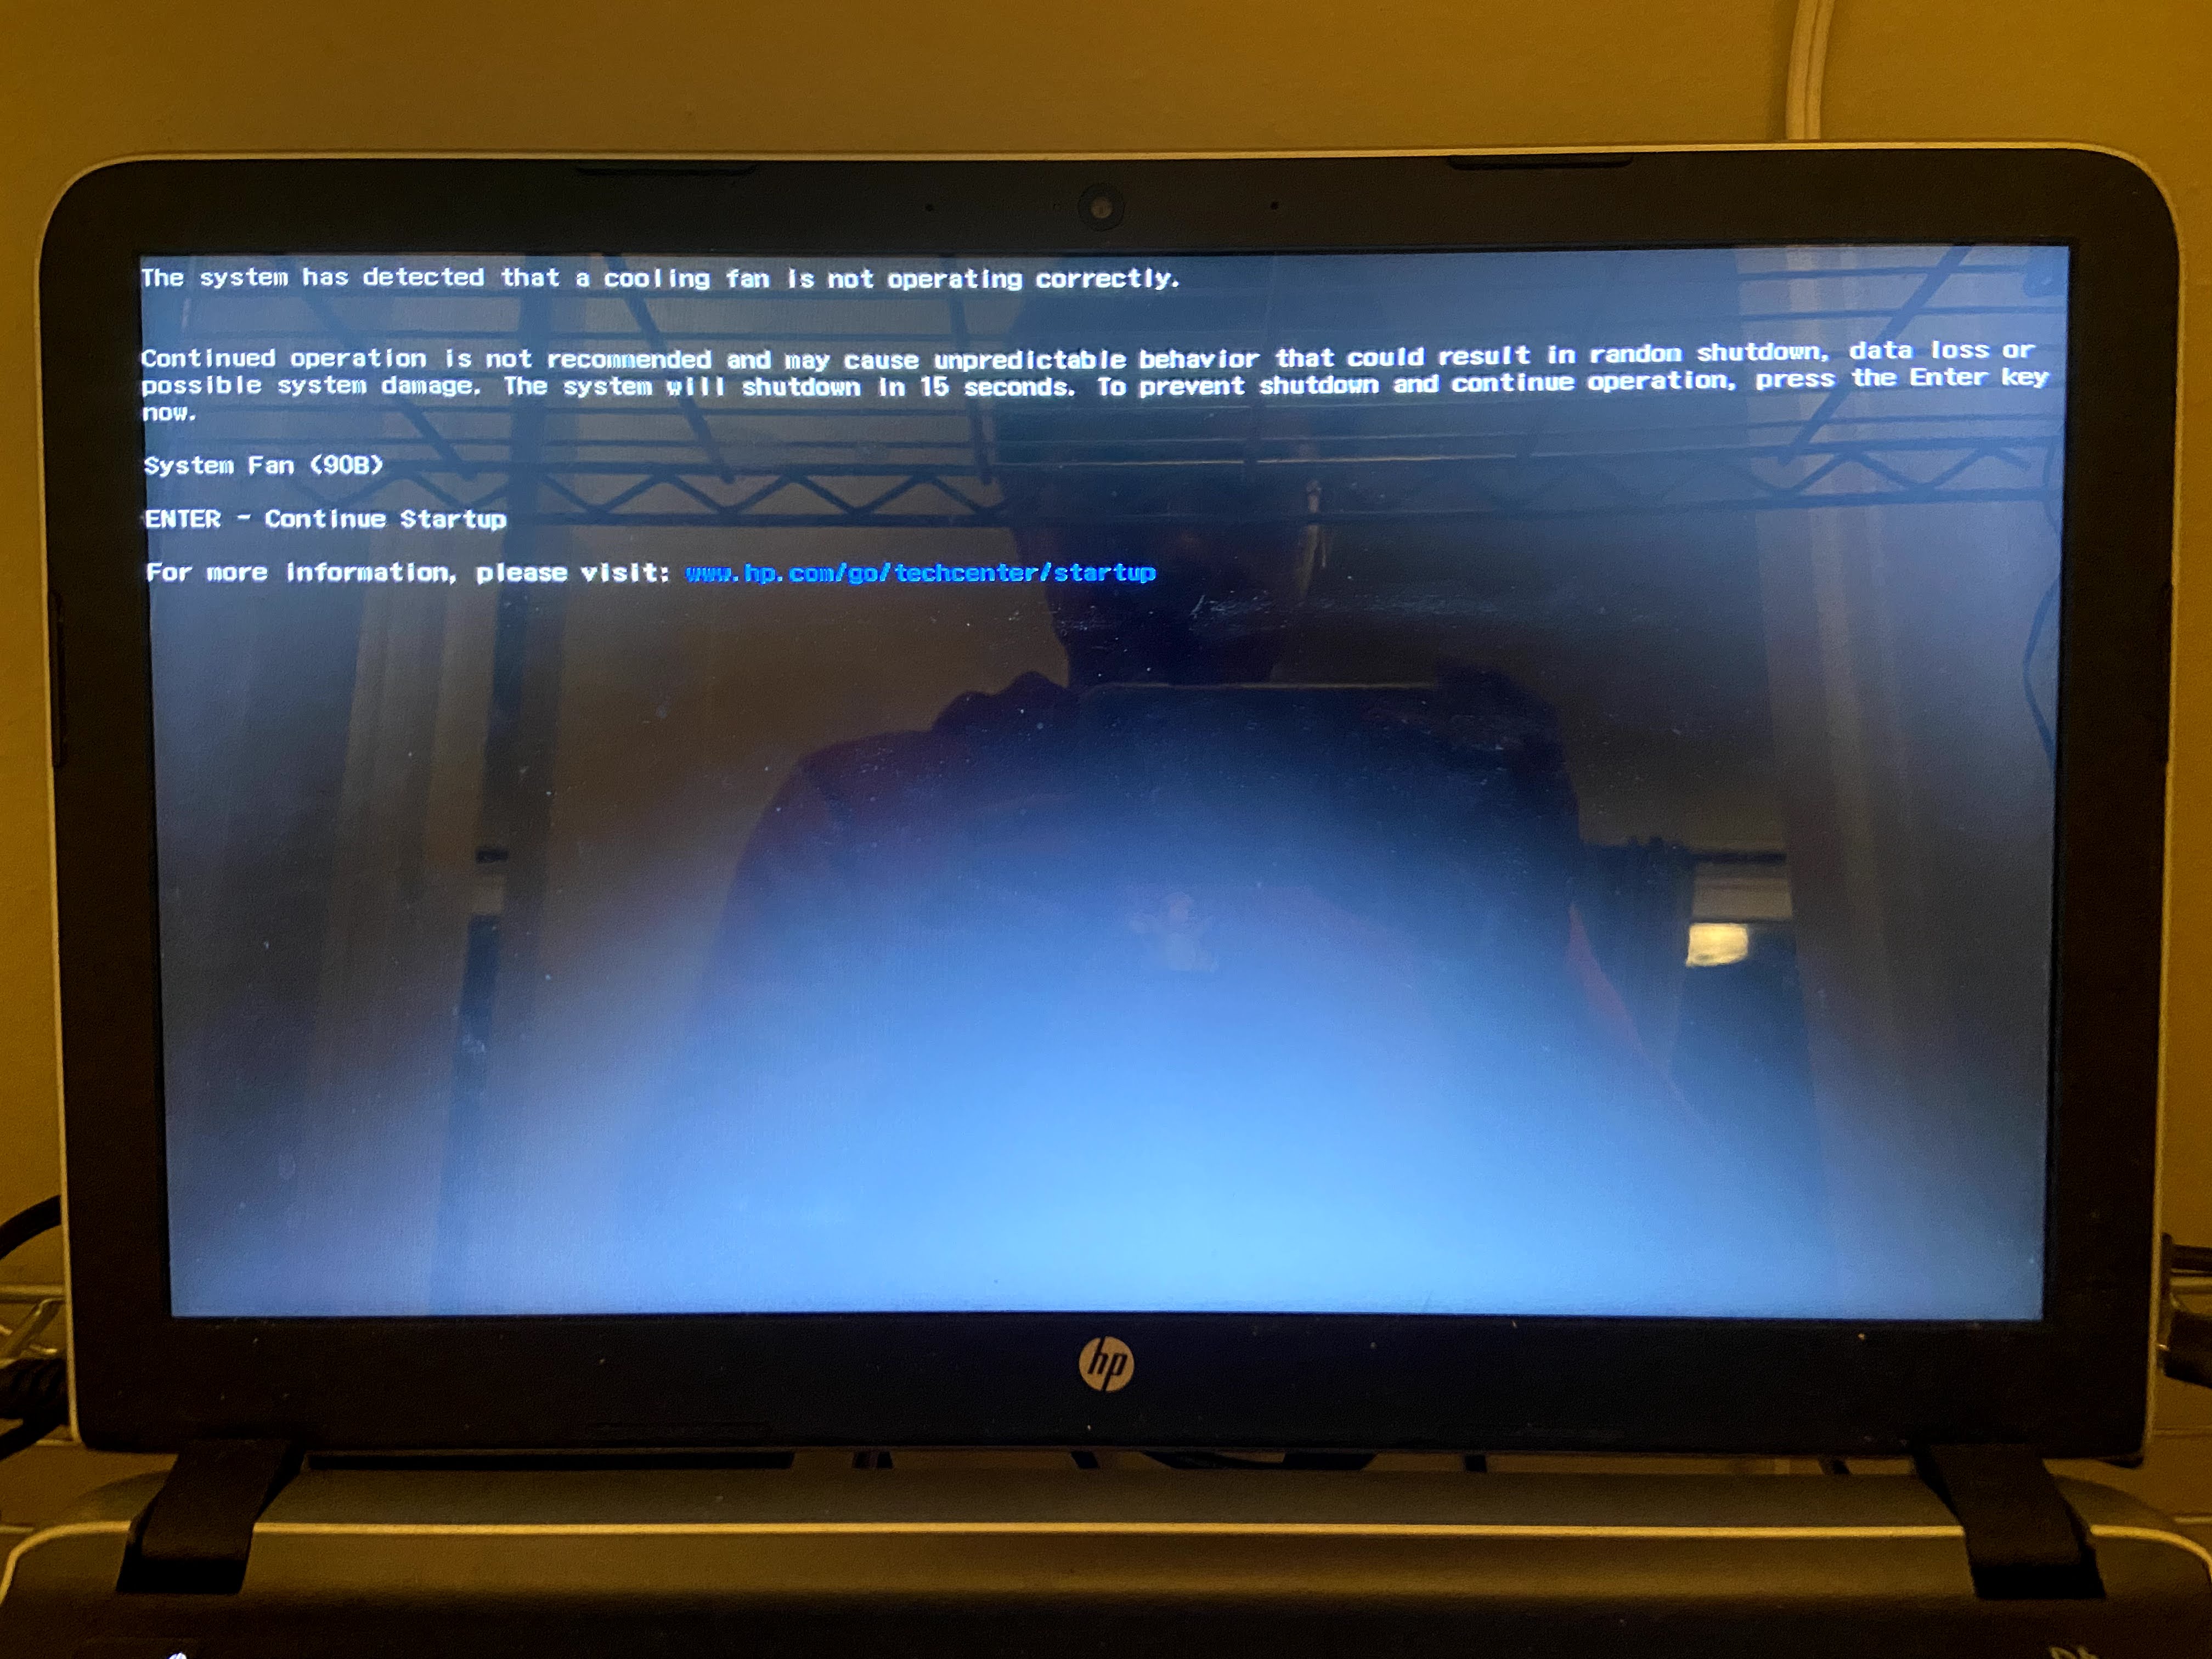
To make a one-way mirror smart, you just need to put a computer behind it! Lucky for me I had a dead laptop which lasted me since 2015, and the screen still worked great! Decided it could be reutilized to do more than show an error message for me.
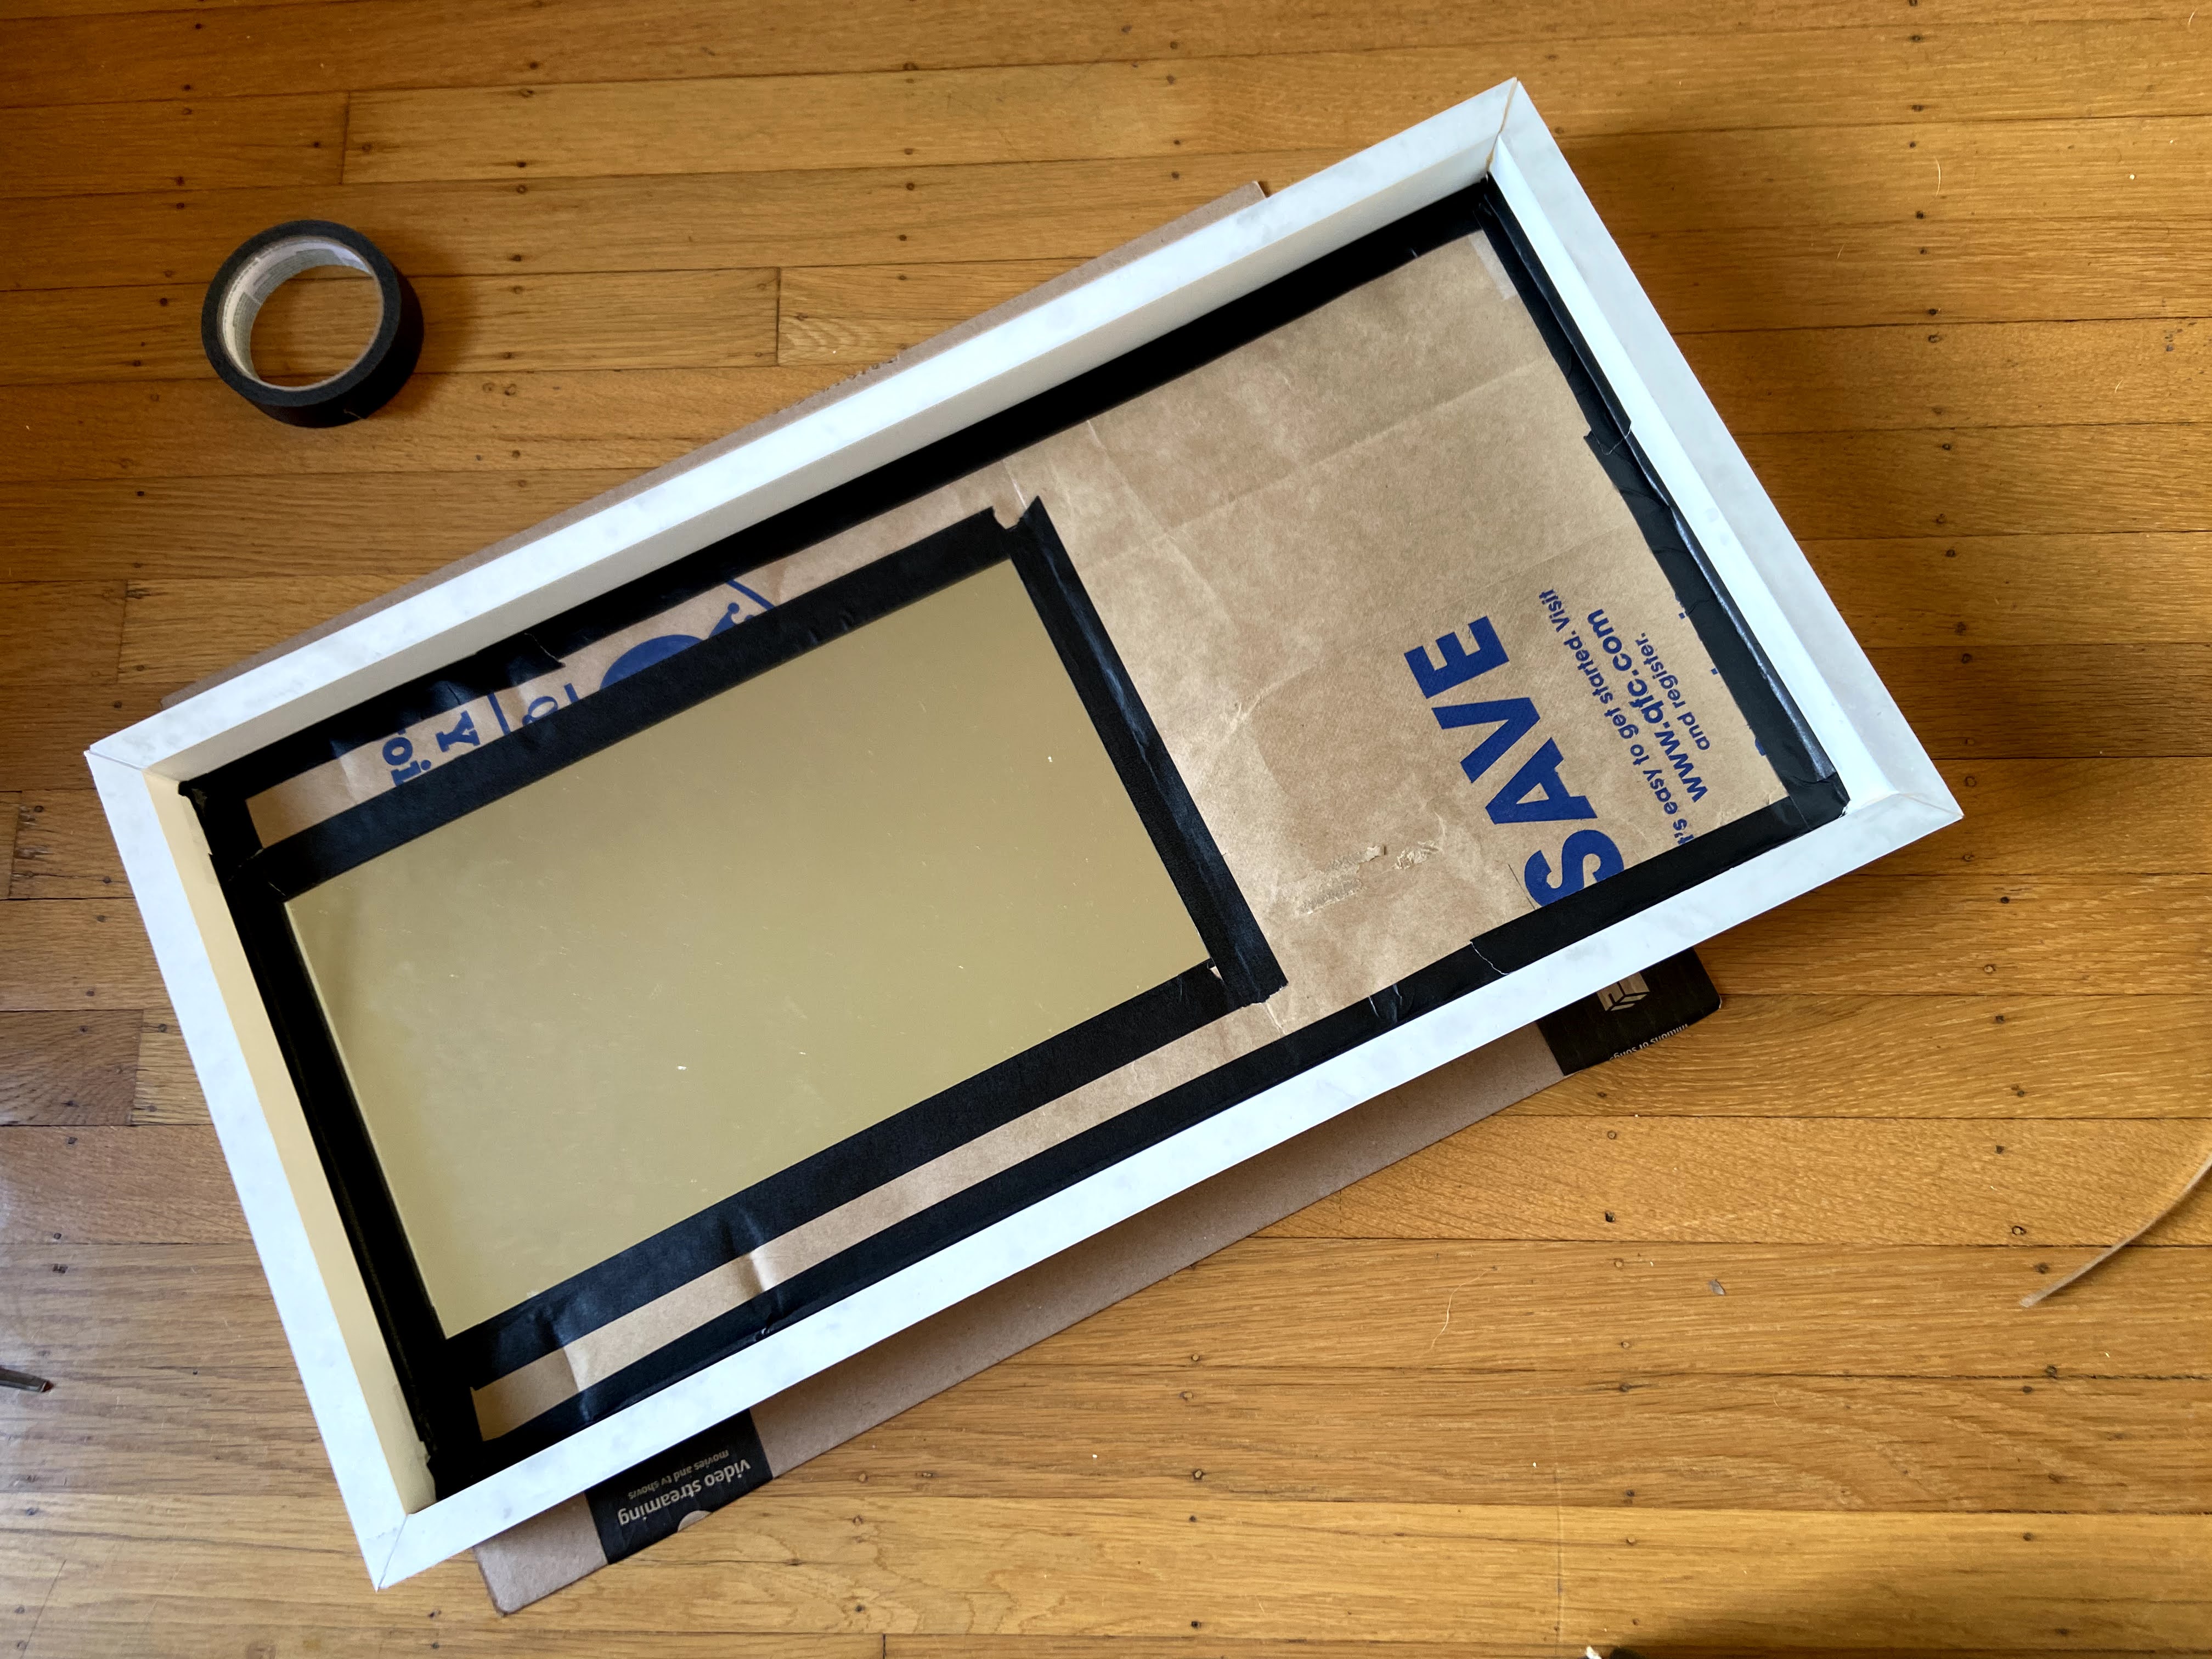
The first thing I noticed when taping together the prototype onto the mirror was that the backlight would be shining in the back part of the mirror, allowing you to see some of the electronics in the back. Since the backing of the mirror needs to be fully dark to make a mirror, I covered the glass that wasn’t going to be holding the screen with reused shopping bags, and black masking tape.
Along with a Raspberry Pi 4, and an old laptop monitor, I had to find a controller board for the laptop. They’re amazingly easy to find on eBay if you search for the monitor serial # and “controller board”.
I also needed a good set of power adapters to let me power it all up using a single plug. The Raspberry Pi required 5V power, and the monitor needed 12V power.
Knowing this, I started with a wall plug which provides 12V 5A of power. Then I also had a splitter cable to get part of the power to the monitor at 12V, and part of the power to the Raspberry Pi. In order to get the 12V 5A down to a Raspberry Pi acceptable voltage of 5V 2A, I got a power converter module as well.
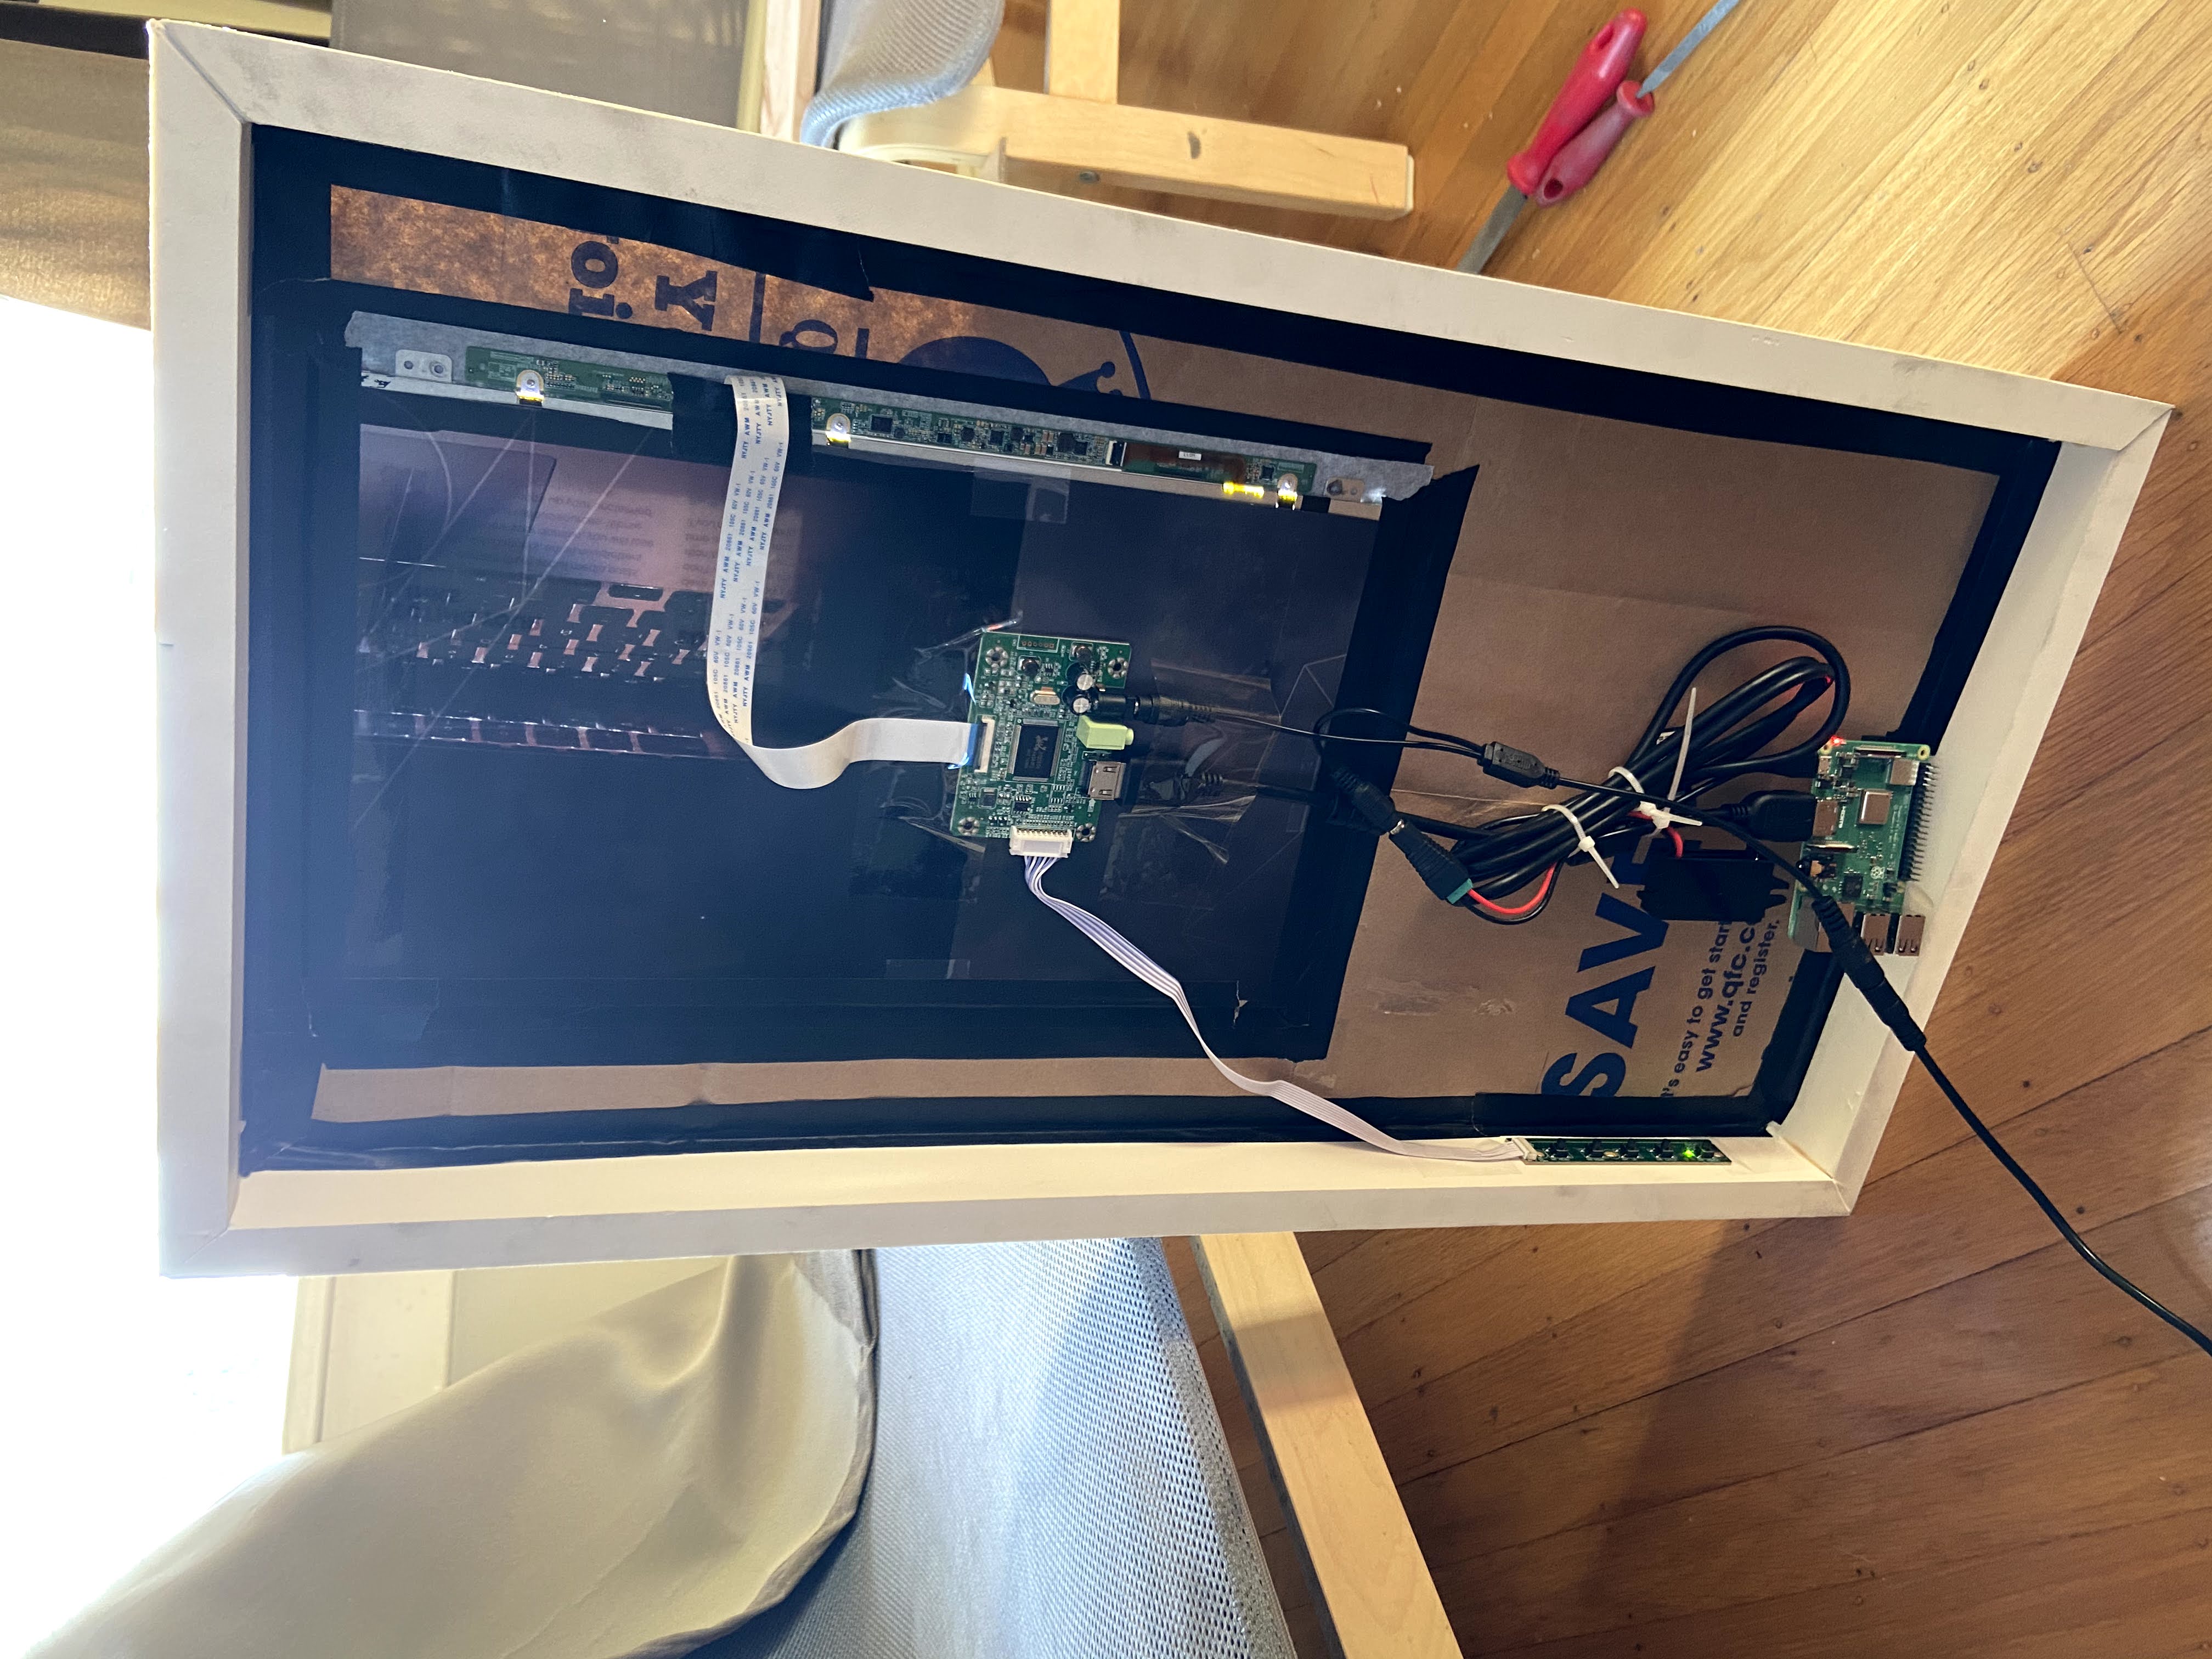
I will say this was the most confusing part of my high school physics class, so when I plugged it all together, I said a short prayer hoping it wouldn’t short circuit my electronics, and plugged it all in. And … it worked! Here it is all neatly tied up with zip ties, and partially taped into place behind the glass. The monitor controller board is what you see in the center, and the Raspberry Pi is held a little loosely down at the bottom with all the power converters.
Installing the Software
I would honestly recommend not doing it the way I did it, but since I was going for speed and wanted to get the mirror up ASAP, I just installed the Magic Mirror OS. This was super easy because you download the .img file and then flash it onto the sd card that goes into the Raspberry Pi. As soon as you start up the Raspberry Pi, it starts running the default modules and you have a magic mirror!
The reason I say it was not recommended is because once I did this, I had to figure out where on the sd card everything was configured, and this method uses docker to run the magic mirror program. There’s a learning curve to docker and I was still towards the beginning of it.
If you’re doing this project, just follow the manual installation instructions. It will save you a lot of the learning process pains I endured.
Rather I had to stumble across the MagicMirror docker instance documentation and
learn cool commands like docker-compose up -d to start the mirror, and docker-compose down to shut it down.
A useful command I learned to love was docker exec -it mm bash which opens up a bash terminal inside the
docker image so I could modify some mirror settings. That plus learning how to make docker images.
I also had a difficult time telling the Raspberry Pi to rotate the screen 90 degrees (remember it’s a laptop screen so it was originally a horizontal orientation) but I found a hack which was to install a css style to the ~/magicmirror/mounts/css/custom.css file:
body {
    margin: 0;
    position: absolute;
    transform: rotate(90deg);
    transform-origin: bottom left;
    width: 100vh;
    height: 100vw;
    object-fit: cover;
    top: -100vw;
    visibility: visible;
}
This just takes the body and rotates it 90 degrees! It actually cut out the need to configure the Raspberry Pi hardware settings, and may actually be a more efficient solution than most proposed on the internet.
Playing with modules
You can honestly spend days and days reading custom-made modules and installing them for fun.
For my magic mirror, I needed to keep a nice dashboard in the top left for a simple overview of my day,
so I worked with the existing clock, calendar (updated with my google calendar),
currentweather (set to Seattle!)
and installed a fun MMM-RemoteCompliments custom module!
For the most part installation of modules was super straightforward. With the docker setup, I was able to edit the configuration with the mounted directories under ~/magicmirror/mounts/modules sometimes requiring a restart of the mirror docker image.
The Remote Compliments module is configured to show a compliment that is currently on a Google Doc. I wanted to set this up as a way of sending love letters to the mirror owner. And it works well!
The module’s documentation has great instructions on how to create an OAuth Client ID for a mirror application on Google Drive. Was able to set it up within a couple of hours. Caveat: I did find that the mirror would log out of my Google Drive and require a new password weekly, I’m not sure why, but it may have to do with the security level of my Google account.
To circumvent that, I just wrote a script inside the image called relogin.sh:
cd modules/MMM-RemoteCompliments/Drive; node Relogin.js
and Relogin.js I’ve posted here for reference. (It’s just a modified version of the setup script)
Conclusions
All in all a nice project you can build with your friends and family. A good introduction to Raspberry Pi, if you’re good at following online tutorials, and so extremely documented. I like how it’s been holding up over the last couple of months it’s been on my wall, and it’s great to have for a quick view of your digital dashboard on the way out for the day.
If you’re a techie interested in building one, go for it! Maybe even consider adding the Remote Compliment module and gift one to your significant other as well.
Possible todo's I plan to improve on in the future
- Fix the Google Drive log-out issue, or automate a solution to log in regularly
- Make the screen turn on and off based on motion in the room for power-saving mode
- If the above are fixed, gift it to a special someone who may appreciate it