I masterminded a crazy final art project for my woodworking class at UMD in 2019. I was assigned a task:
Build a beautiful piece of wood working as a self portrait. It must be mixed media, and it must be taller than you. Professor Foon Sham
For some reason, I only envisioned an art piece that was tall, but not big (Unlike my classmates who went big in every direction). I made a plan to integrate my piece with LEDs, an Arduino, and a PIR sensor. It was going to be blue when nobody was nearby, but then transition to red when people were detected nearby. This was to reflect my own energy as I am an extreme extrovert and the bright red is my energy as I am approached by new people.
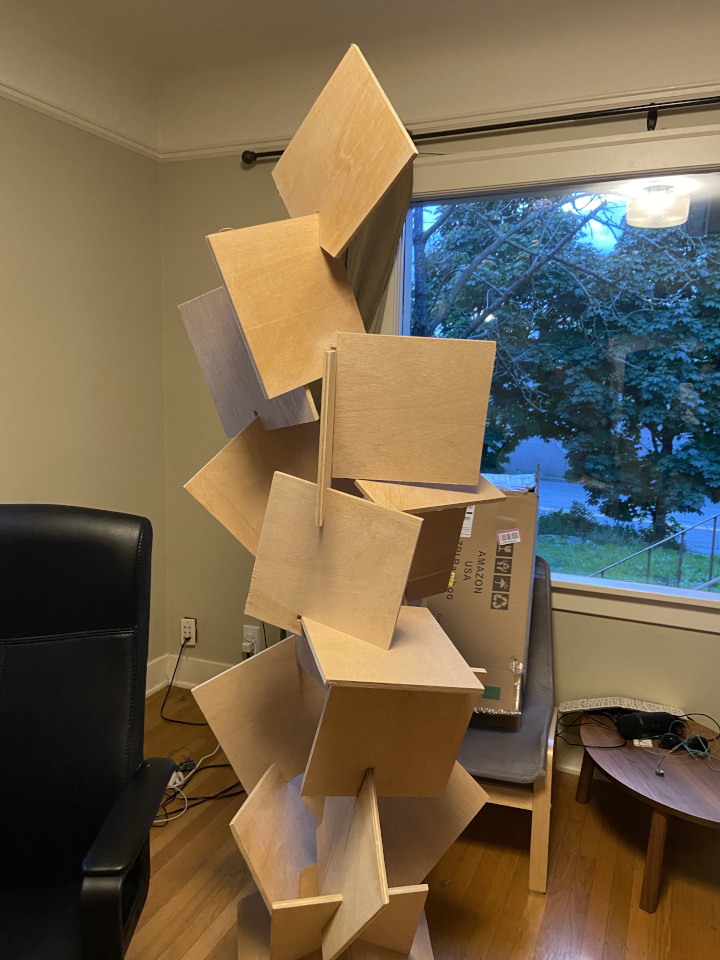
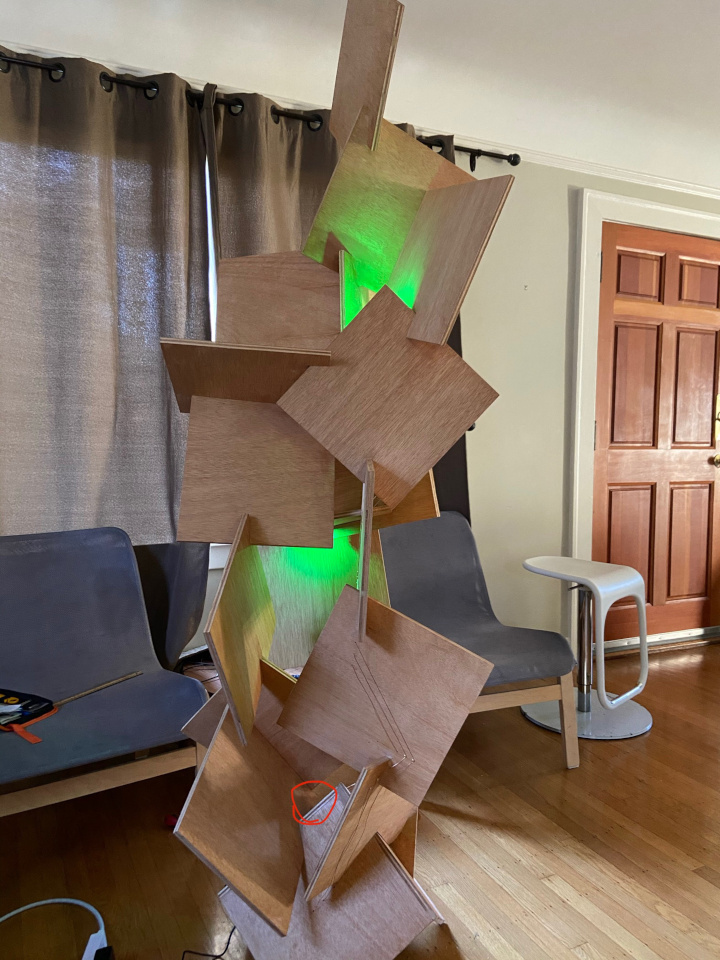
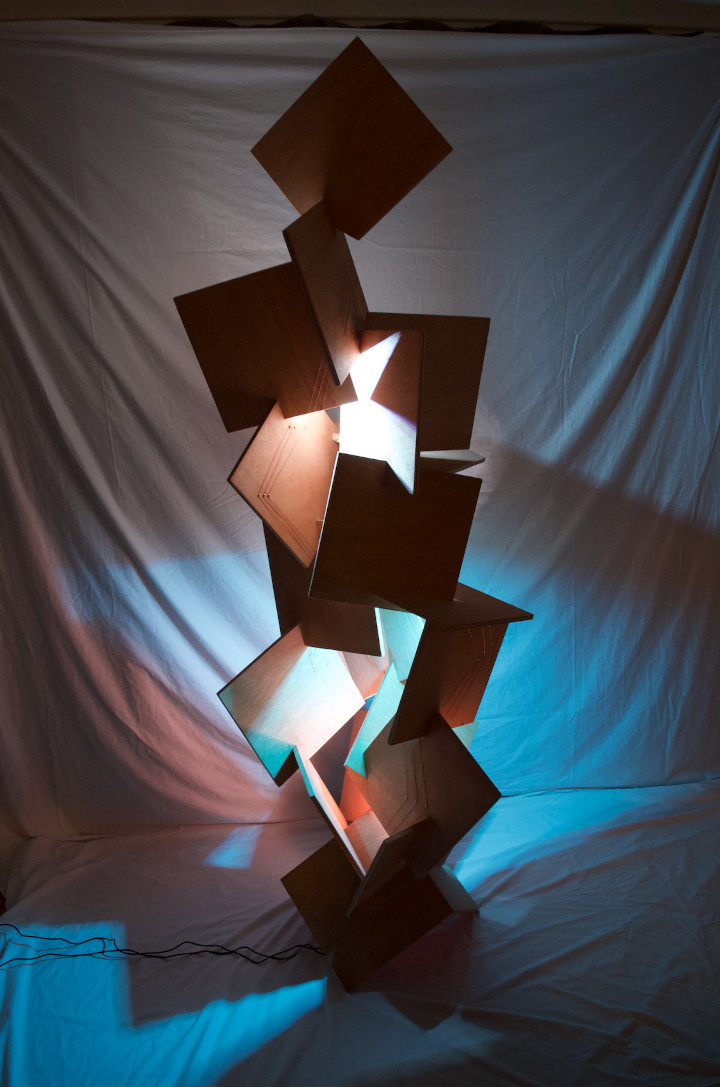
This is what I came up with by the end of the course:
![]()
I was disappointed. I had missed some key things:
- The interaction was inconsistent. I gave up trying to get the PIR sensor working so I just made it work on a basic color loop.
- The wood was unfinished. No coating, just plywood.
- 40% of my LEDs didn’t work! The sculpture had 5 embedded LED rings, but my poor soldering only enabled 2.
- The power draw of the LEDs was too high. My wires were too thin to carry the power.
- My soldering was terrible. The entire thing was haphazardly constructed. When the entire chain of lights was unresponsive, I couldn’t easily fix it without tearing out all the wiring.
I worked 10 hours the day before it was due, and the last-minute effort to get it working left me with sad results. I just left this as a bucket list item: One day I would finish it and bring it glory.
fast-forward -> 2020 pandemic happens, time to finish this…
Cleaning up my wood work
I had successfully moved this sculpture from my college dorm in Maryland to my house in Seattle. To get started I ripped off all the old NeoPixels and the wires.
I took it out to my garage and stained it with a natural stain. This made the color of the wood pop a little more and now the wood had a decent protective finish on it.
The joints were filled with some putty, but the putty got discolored after staining, so my girlfriend helped me match some paint colors and correct the coloring of the putty. All in all, I was satisfied with the wood sculpture.
Embedding electronics
It was time to get to the wiring. I originally had 5 Adafruit NeoPixels, but I did tests and found that not all 5 LED rings worked. Notice how some LEDs got skipped in my tests? I think maybe during my soldering I fried some LEDs. Who knows.
Eventually, I made good solder points and I got 3 Neopixels I knew were going to work. So I set out to use 3 in the sculpture.
I 3D printed mounts for the LED rings and set up a design that let me easily connect power, ground, and signal by wrapping bare wire around screws. Tightening those screws got a solid electrical signal, but kept the design modular. If anything broke in the future, I’d be able to unscrew and replace these parts without having to rewire the entire sculpture.

I decided to use the wire and stylistically wire it around the piece, and send all the wires into the driving circuit board through the base. Underneath I had (naively) put a naked Raspberry Pi Zero W.
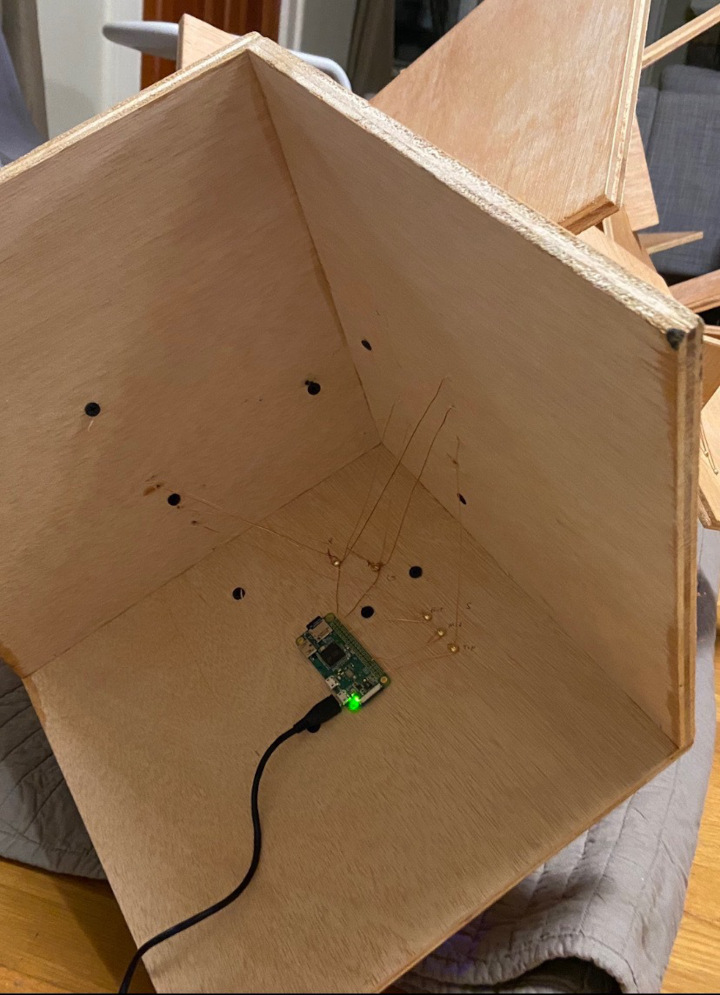
I found a couple problems based on this simple wiring:
- Anytime the lights got turned on to 100% brightness, the Raspberry Pi would shut down due to power failure. Turns out Raspberry Pi Zero was not able to output enough power to my lights. I had to power 36 LEDs, but the power from the Pi was probably 5V ~1A. (Not enough)
- The lights only worked around 50% of the time. The signal was muddy. Turned out the power draw from the lights would create noise on the signal line and mess up the commands sent from my python scripts to the NeoPixels.
- The Pi Zero was too slow for processing more complicated NeoPixel commands.
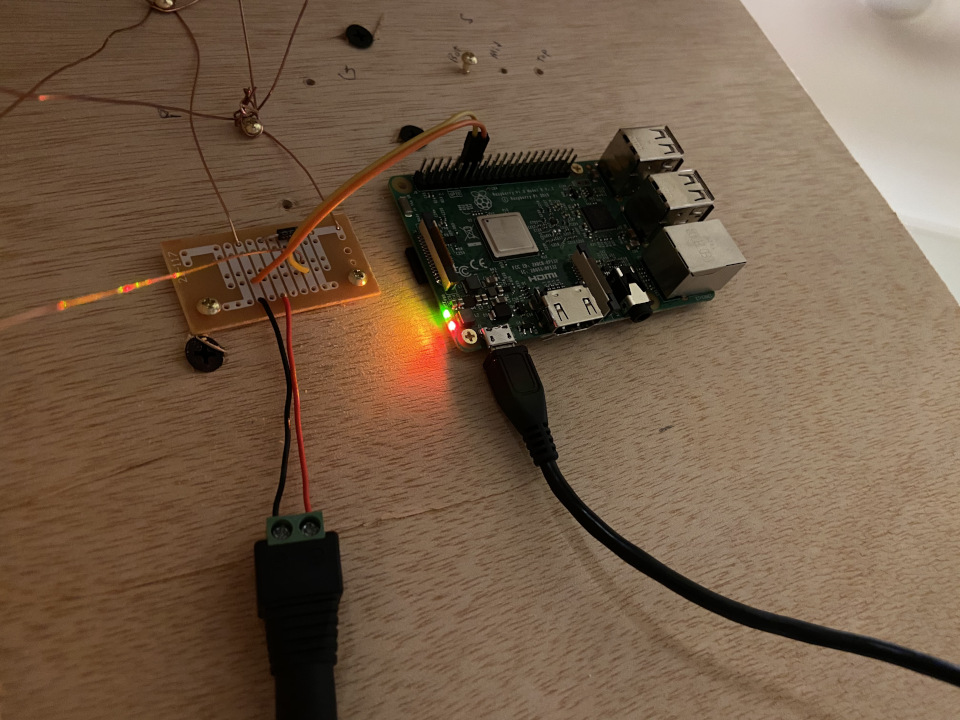
So I upgraded to a Pi 3, got a separate power supply, and addressed those wiring issues.
By this point, I had been fiddling with wires every night for a week and I was fatigued with this entire project.
I had originally wired all the power, ground, and signal in parallel so I didn’t need to worry about a single point of failure taking down all the other components, but the Raspberry Pi can only support 1 LED strip at a time, which I thought I could be clever with code and thwart the restriction, but it ended up the hardware just wasn’t able to do support 3 separate LED strips. I had to rewire the 3 lights into series, and so now I’m doing a hybrid solution with power in parallel and signal in a series.
I also managed to accidentally connect two live wires and blow out the LEDs on my top most ring, so I had to shovel out $10 for a replacement on Amazon, but since I made it so modular, the repair was just a 5-minute swap out to get it working again.
Now, I had complete control via a python script running on my headless Raspberry Pi and I can write some programs!
Making it pretty
I had working lights and now I wanted to make it meaningful. I had 3 lights so I set up a simple program.
- The top light was to Seattle - my current home
- The middle light represents Washington, DC - my original home, and of 2 of my roommates
- The bottom light represents Pheonix - the original home of my third roommate
The lights show me the weather of home by showing colors representing the temperature in those 3 cities. I pull the weather data from OpenWeather
- 25F - BLUE (0,0,255)
- 40F - CYAN (0,255,255)
- 55F - WHITE (255,255,255)
- 70F - YELLOW (255,255,0)
- 90F - RED (255,0,0)
That gave us a nice variation of color such as this: =================
Then I also mapped the color of the sky to various visual indicators. Since the API provides icon weather indicators I decided it’d be best to map these icons to colors.
Some of the icons included:
- ‘clear sky’: [255,255,40]
- ‘scattered clouds’: [128,155,155]
- ‘rain’: [0,10,224]
- ‘thunderstorm’: [255,121,0]
And one that I felt helped me know when my family was end their day:
- ‘sunset’ or ‘night’: [70,0,132]
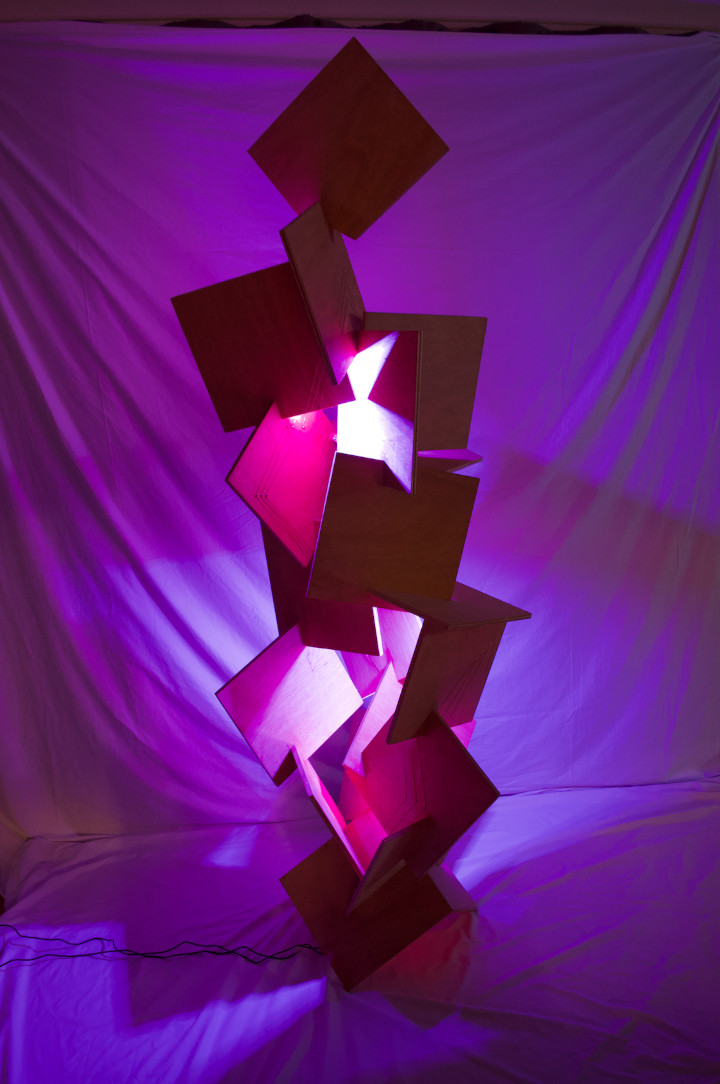
Given these two settings, I just let them fade between the two colors (temperature, and sky condition) every 30 seconds with a very gradual 10-second transition. It’s now the default state of my sculpture now, and I think the purple of the night is very calming in the evenings.
sneak _peek: I* also made the lights synchronize to our sound system, but that’s another post!*